How to use Razorpay with Wix
- Navigate to your Wix website and switch to editor mode.
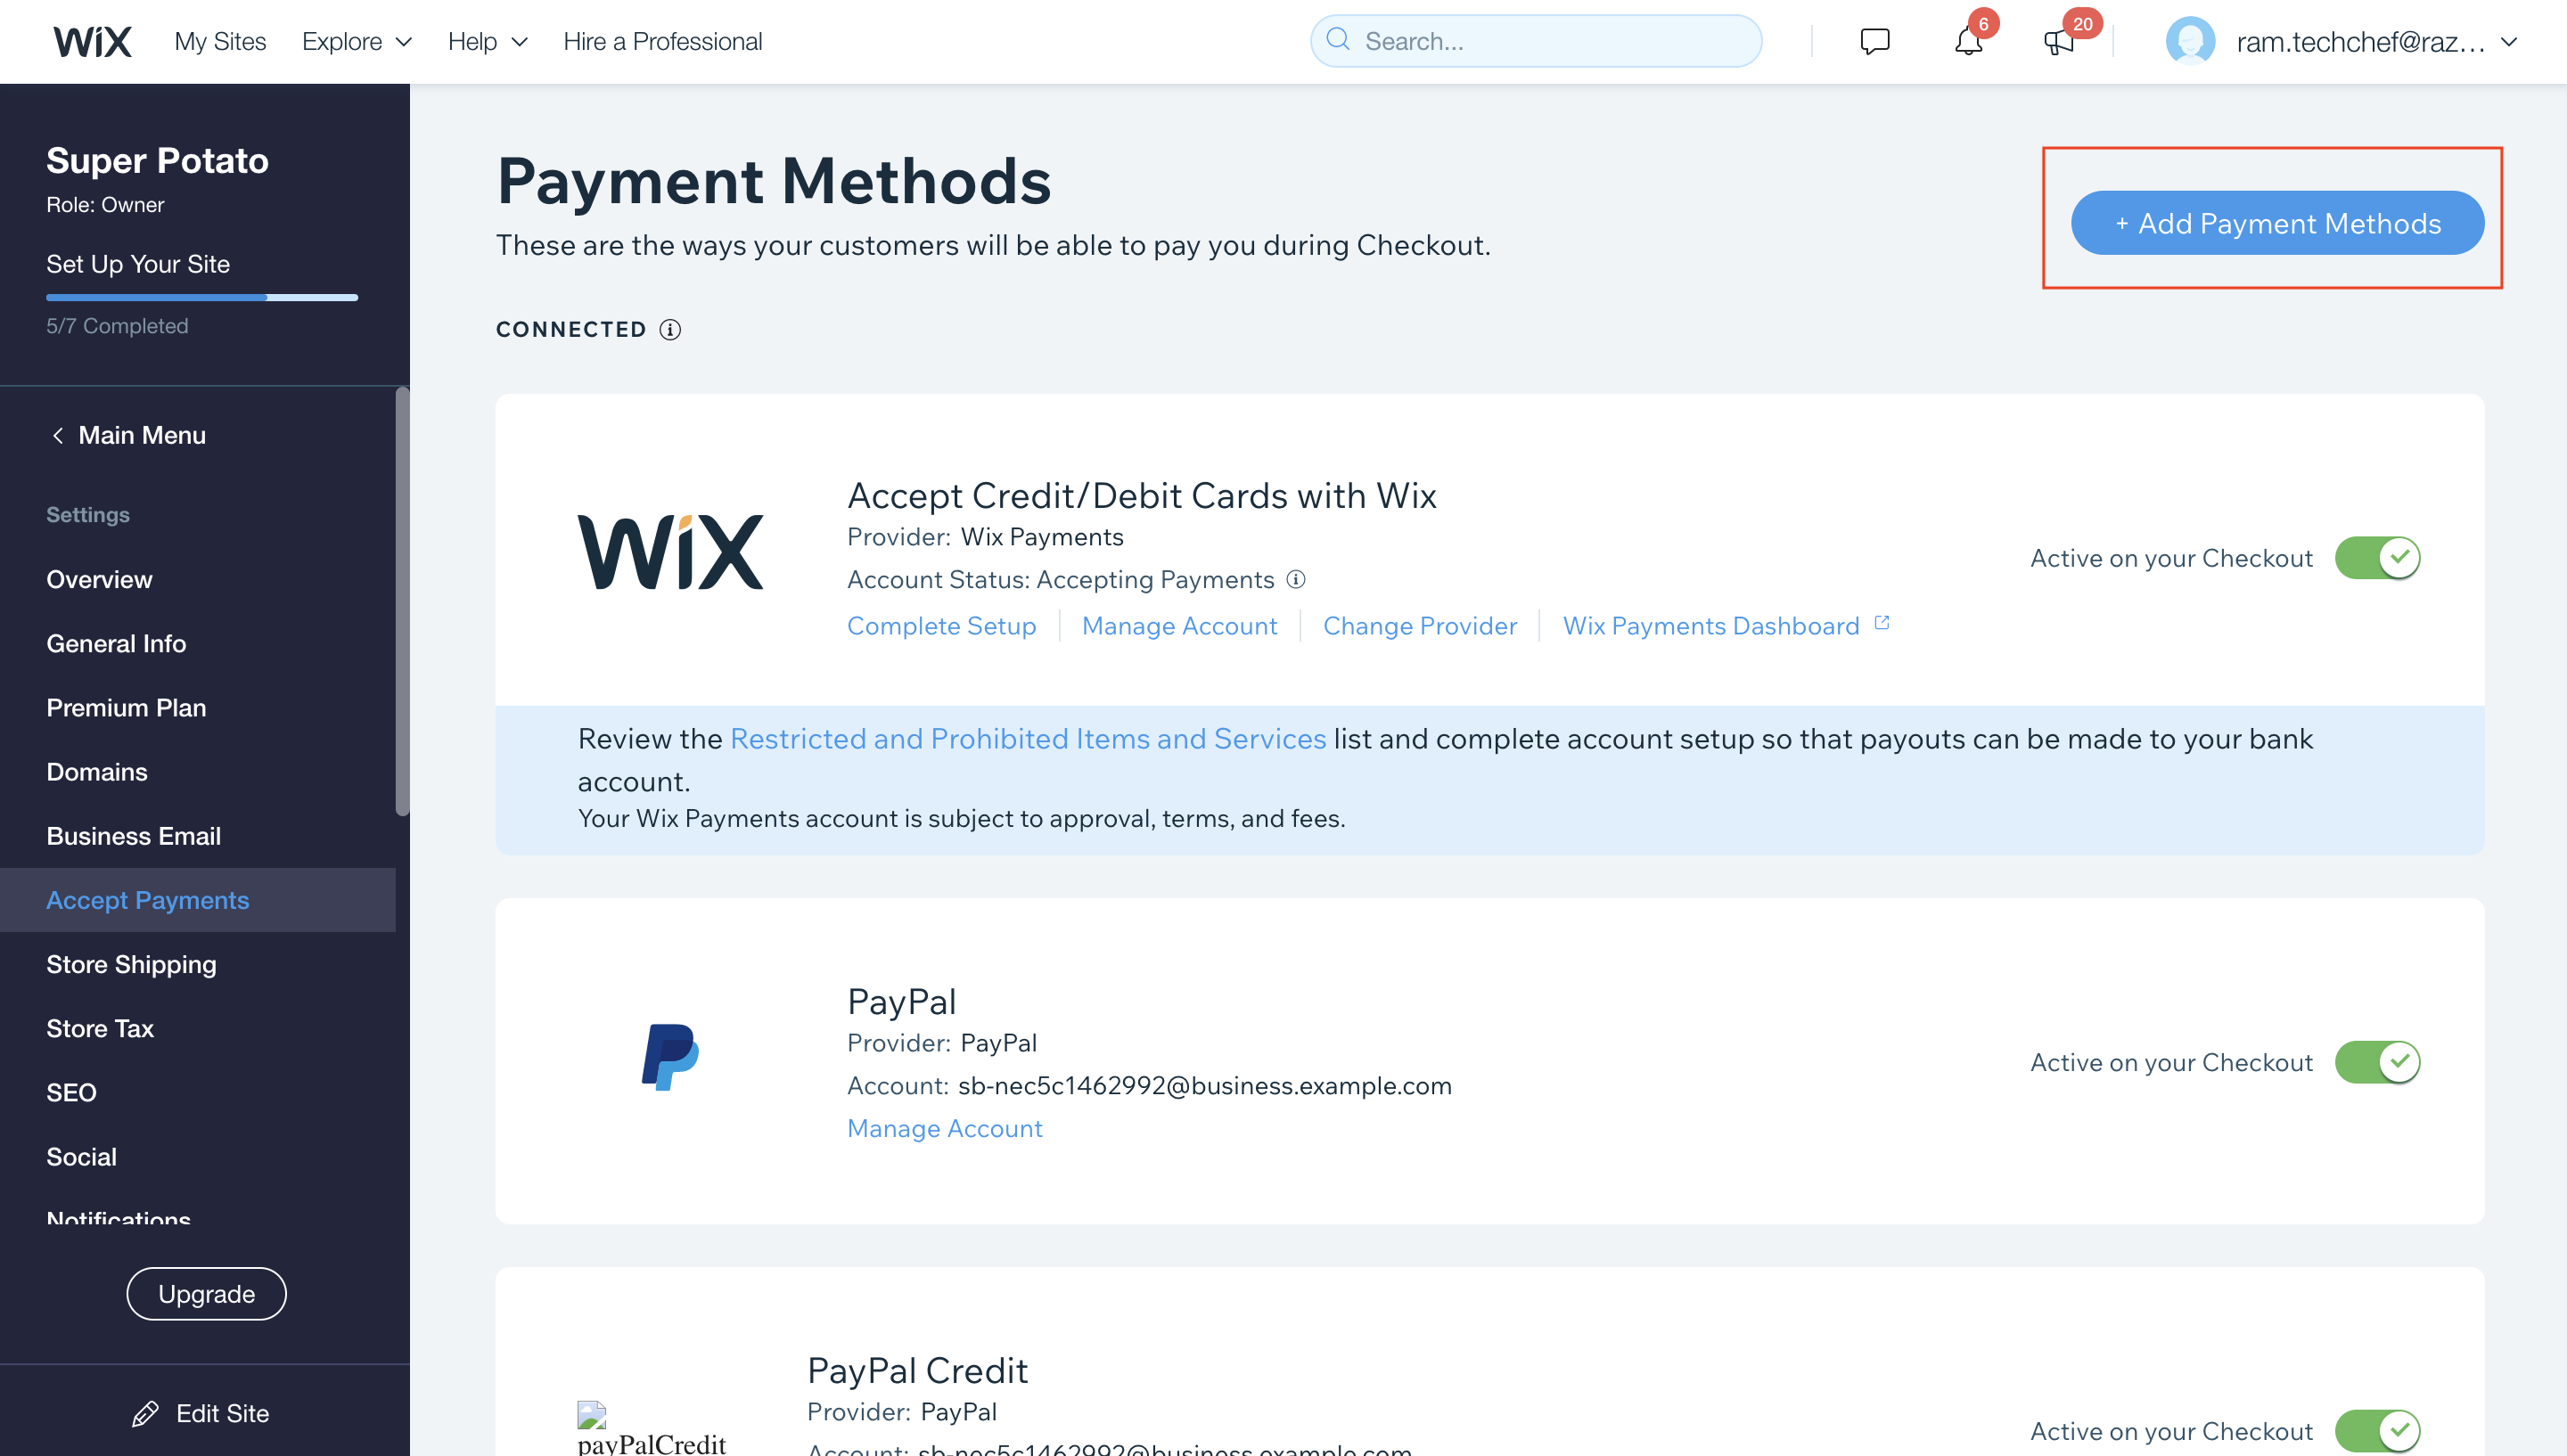
Click Settings → Accept Payments.

Click Add Payment Methods.
Select Razorpay and click Add.
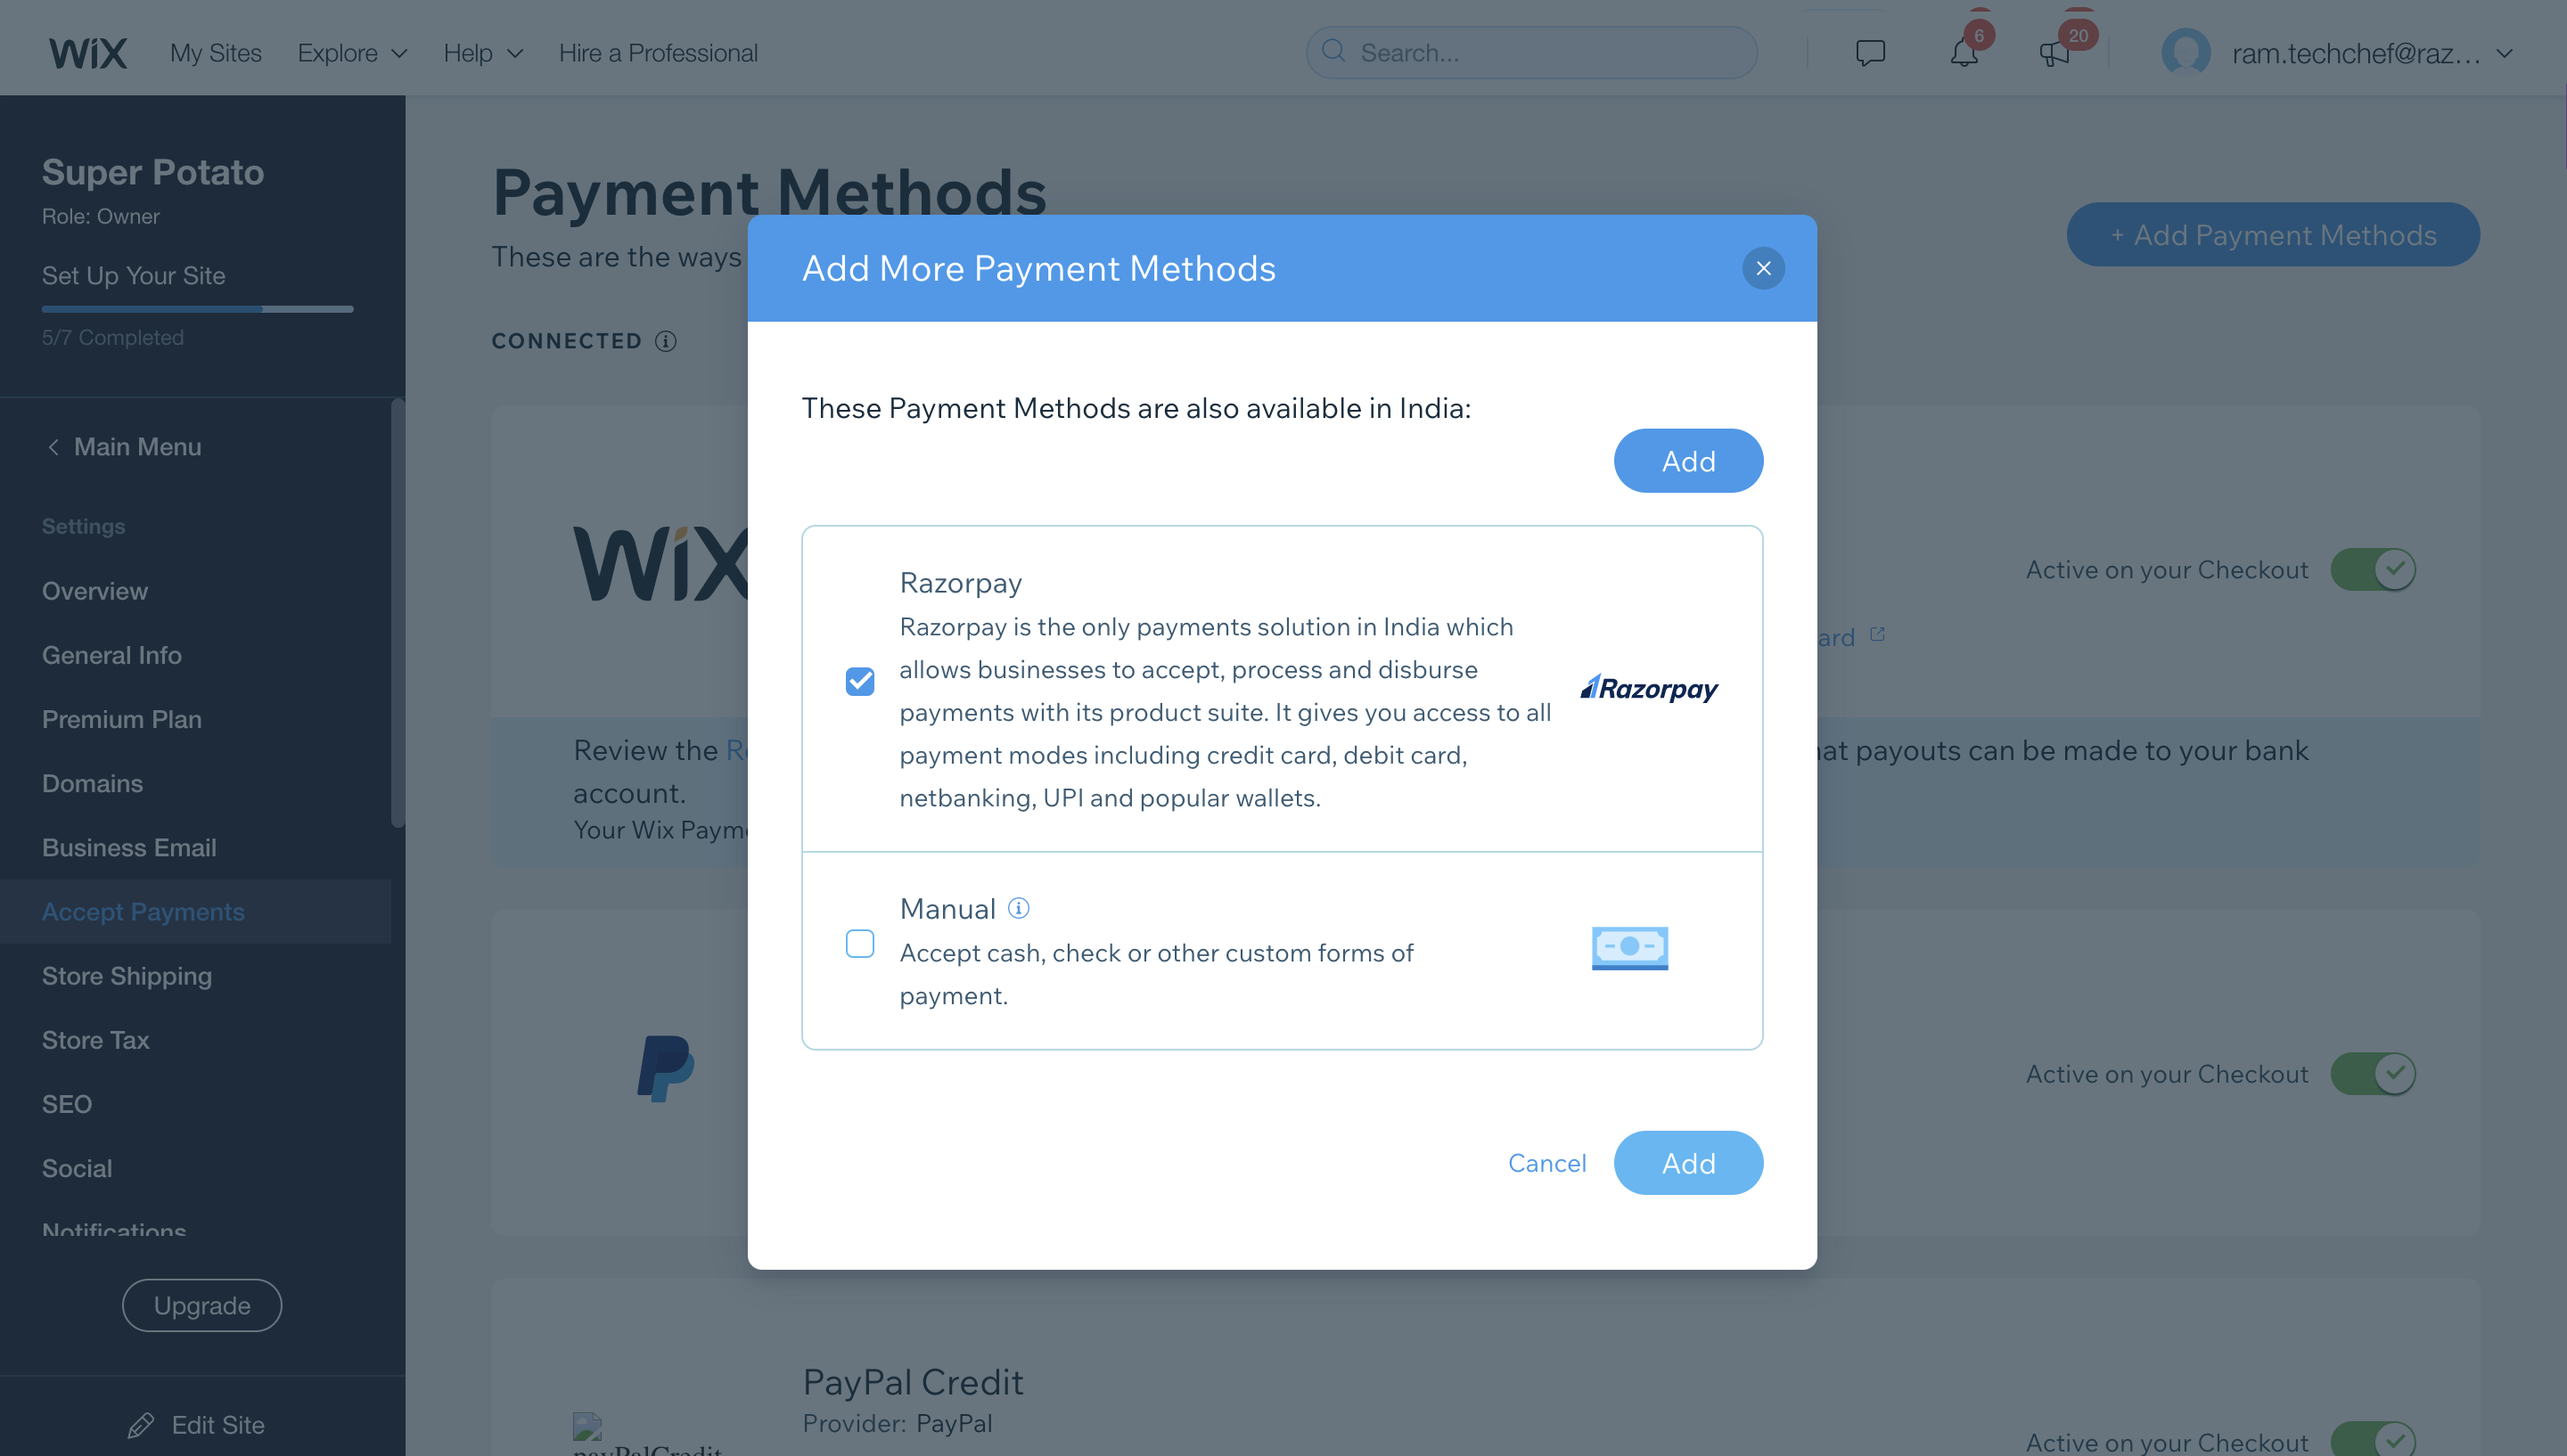
Once added, a success message appears as shown

Razorpay appears added as a payment method. Click Set up Account to Activate.

In the dialog box that appears, select the appropriate action
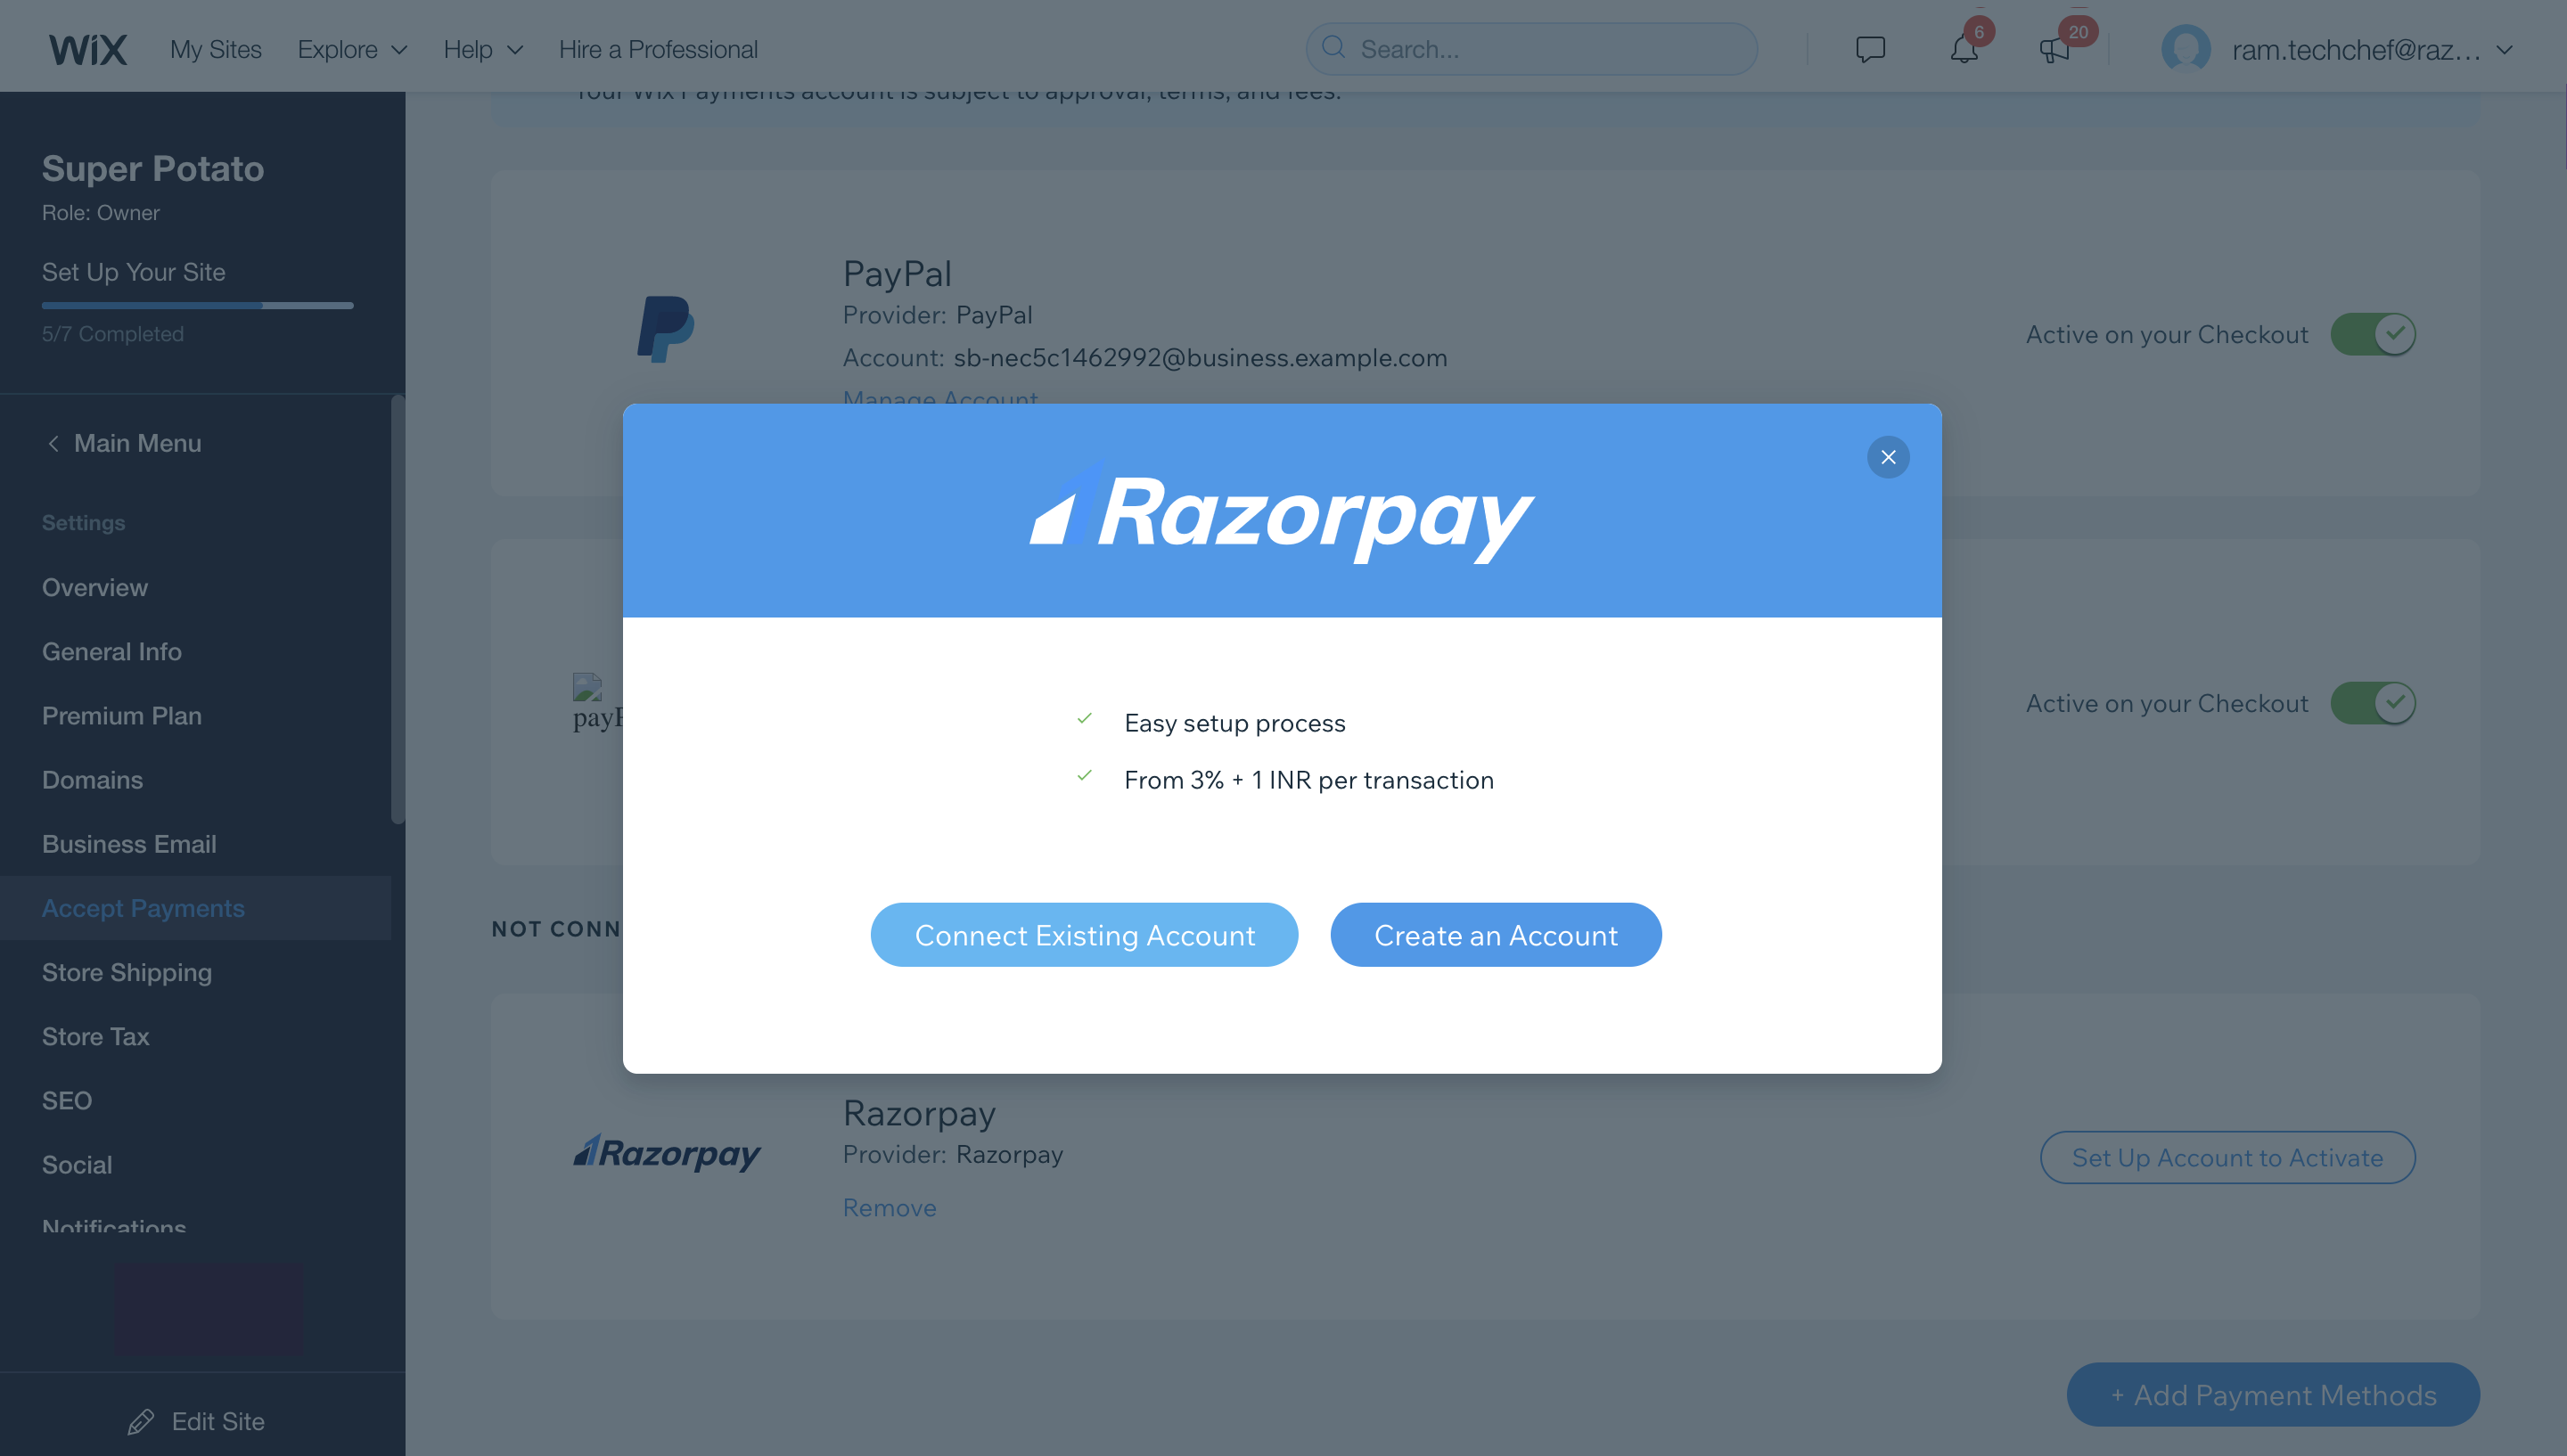
- If you have not signed up for a Razorpay account, click Create an Account and follow the steps mentioned on-screen. Once the account has been created, return to this screen and select Connect Existing Account.
- If you already have an account, click Connect Existing Account and enter your API Key and Secret.
Note:
Do not select the Enable sandbox modeoption.
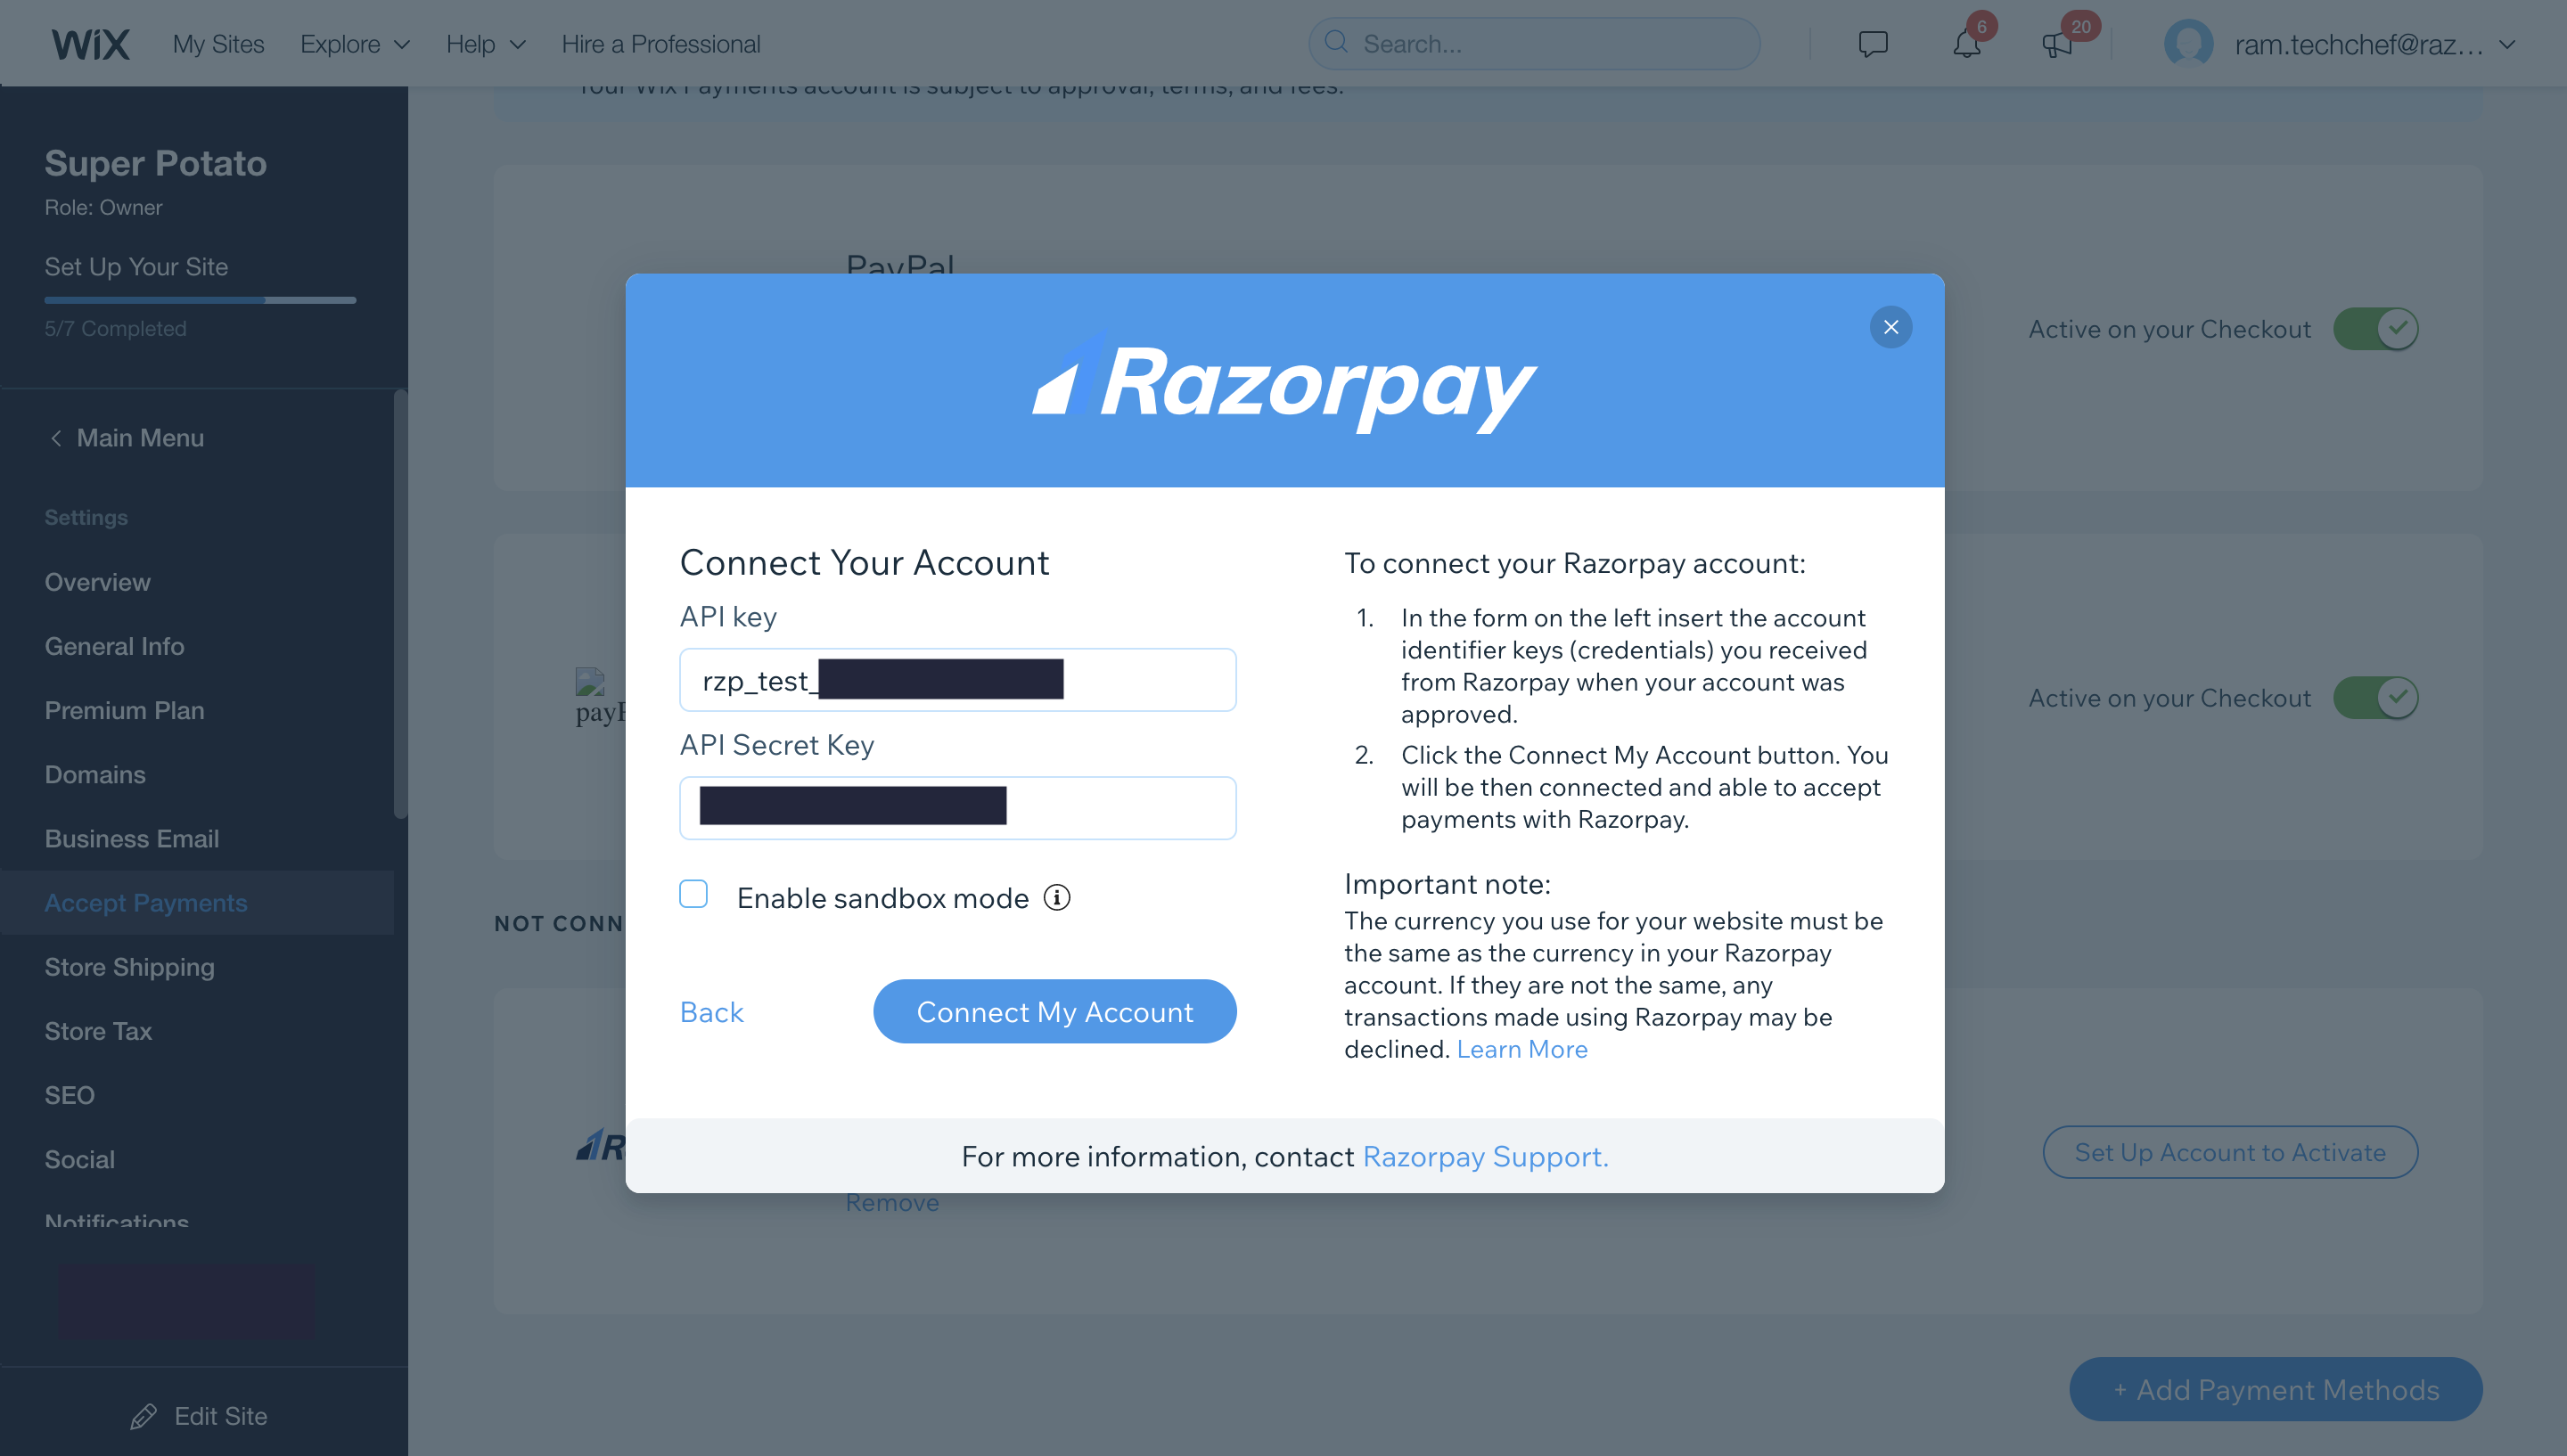
Click Connect My Account. A success message appears on screen.
Razorpay now appears under Payment Methods. Ensure Active on your Checkout is enabled.
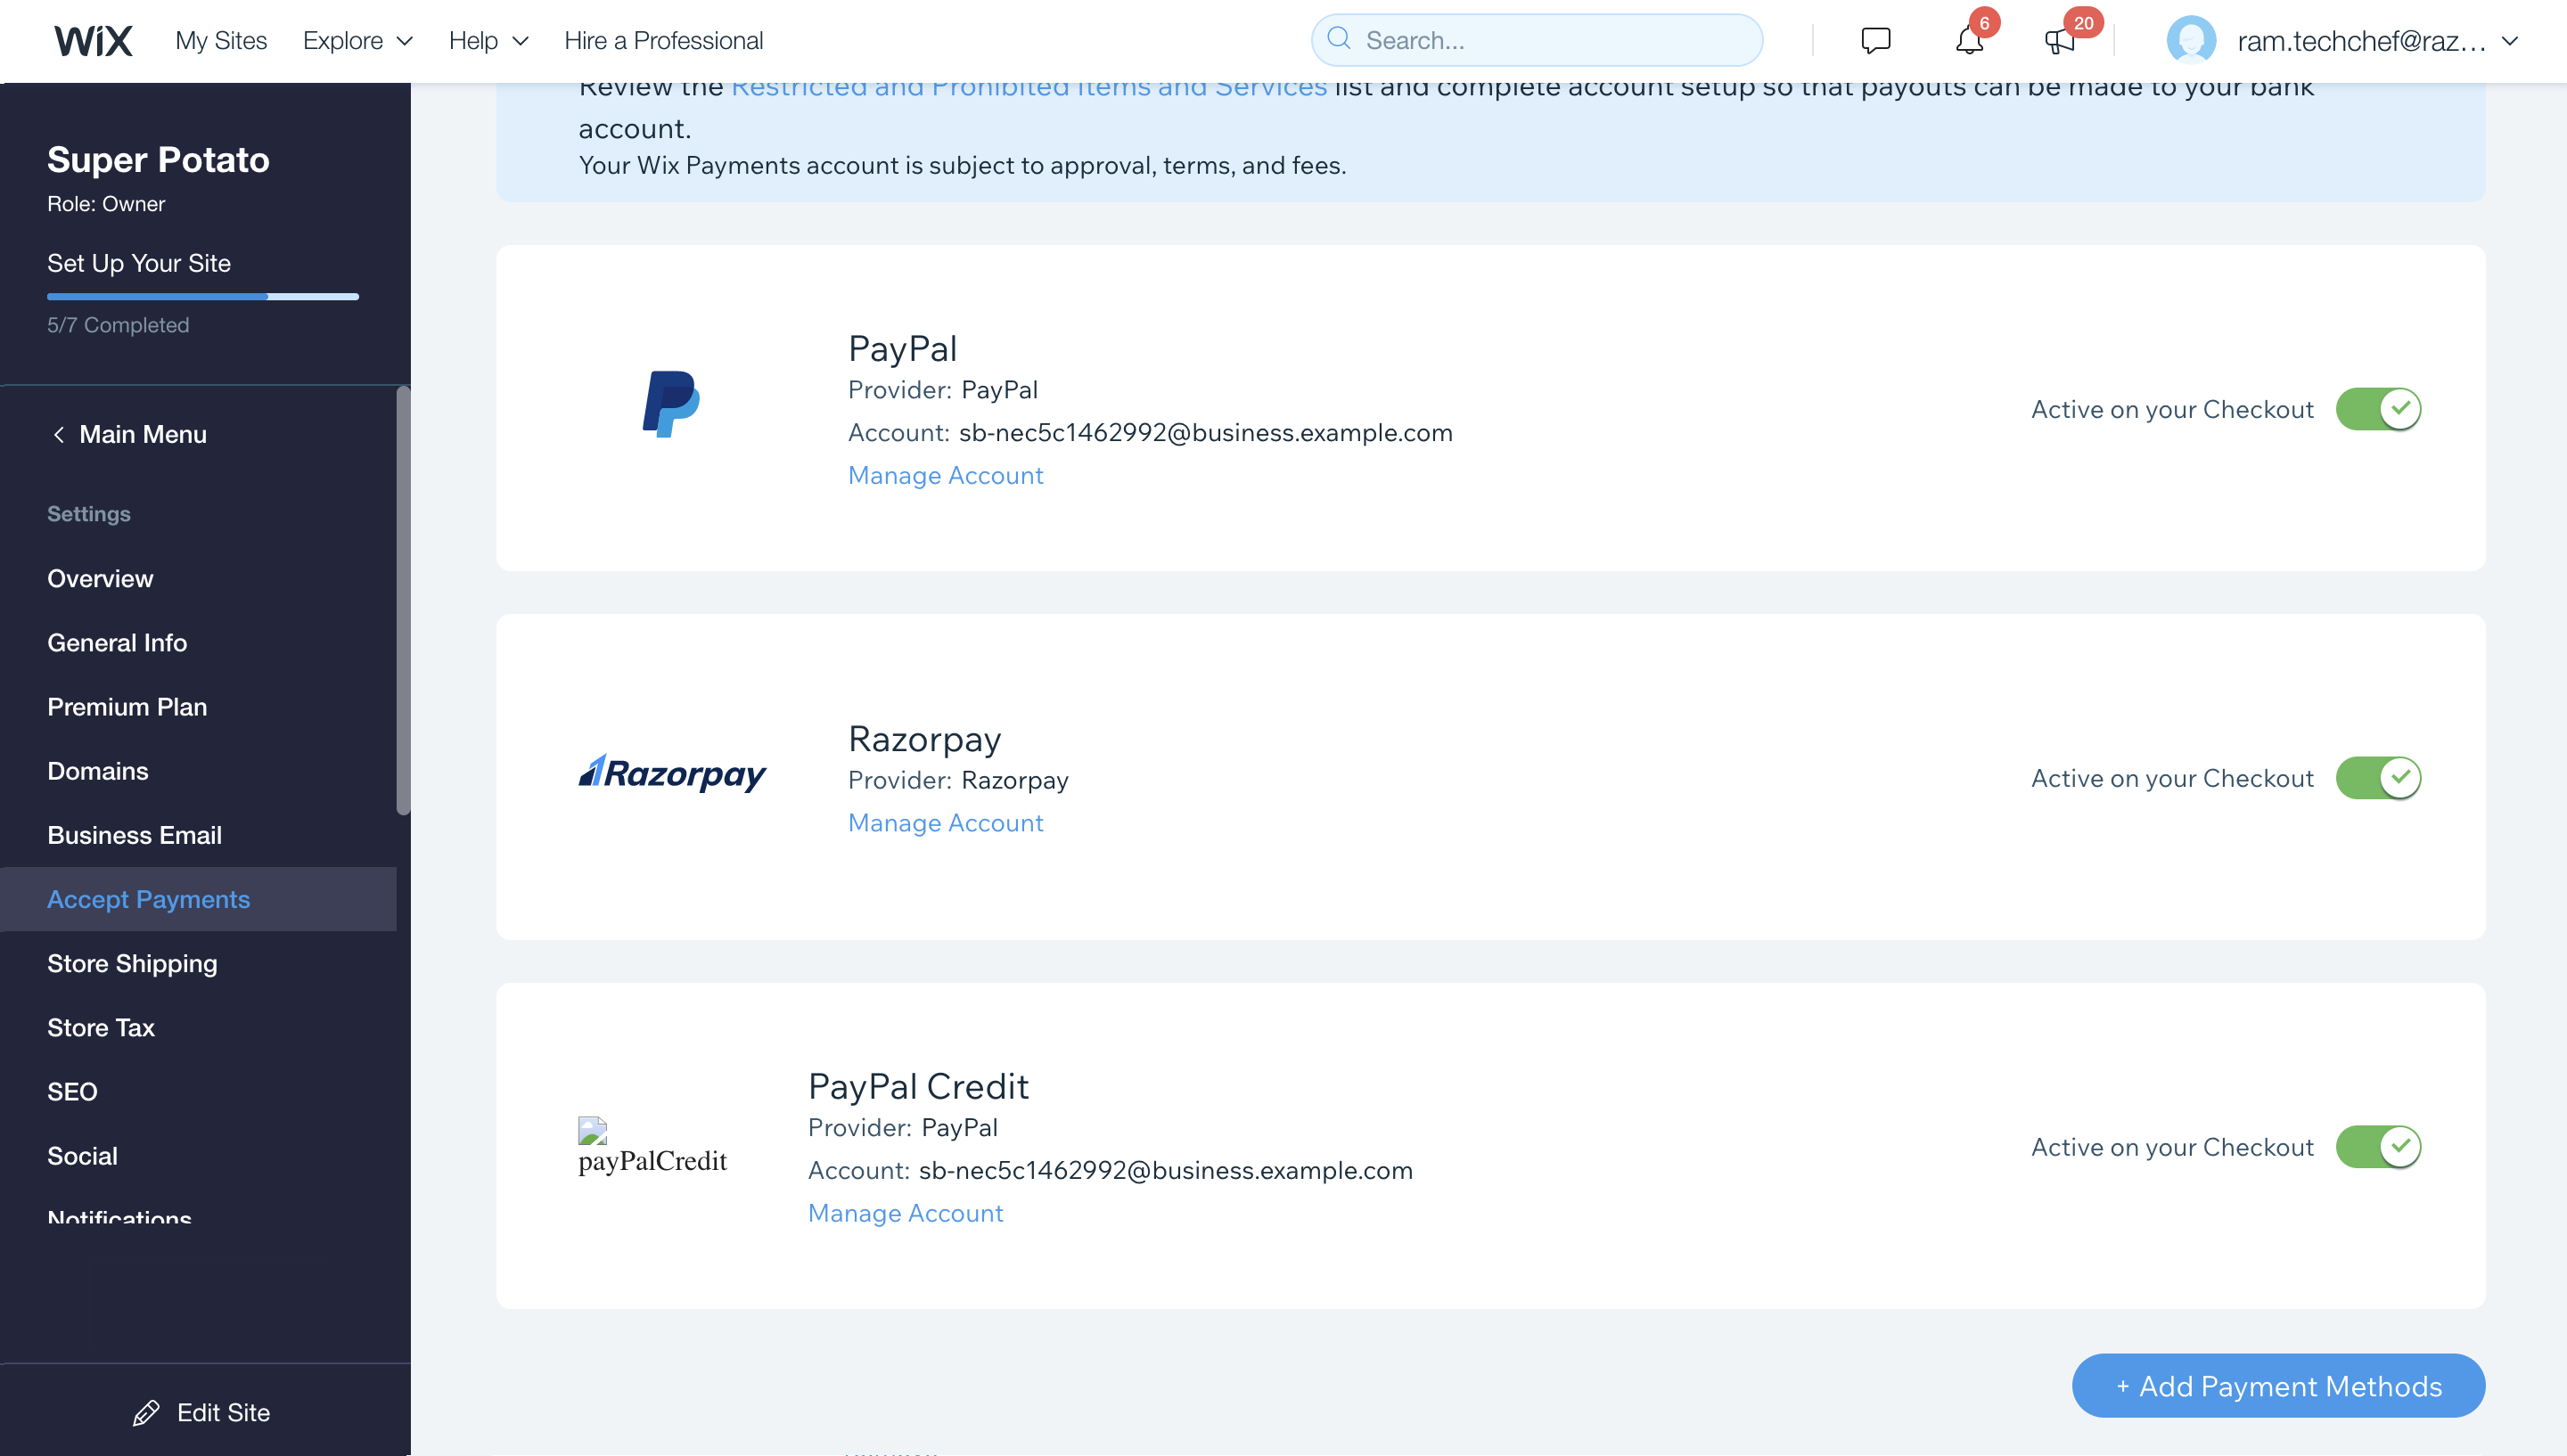
- This completes the integration on Wix Dashboard.
Setting up Webhook
You must integrate with Razorpay webhooks to receive notifications whenever a payment is made on your website. To setup webhooks:- Log into your Razorpay Dashboard and navigate to Settings → Webhooks.
- Click Setup Webhook.
- Enter the following details:
- Enter the Website URL as
https://express.razorpay.com/wix/v1/webhook-handler. - Enter a Secret for the webhook endpoint. The secret is used for validation purposes.
Note:
The secret that you enter here can be used to validate that the webhook is from Razorpay. Do not expose the secret publicly. - Select the following events from the list of Active Events:
order.paidrefund.processedpayment.failed
- Enter the Website URL as
- Click Save to enable webhooks.
Note:
If you are using this Razorpay account to accept payments on your Wix site, you can set up only one webhook on the Razorpay Dashboard.
Watch the short animation for more details.
This completes your integration.