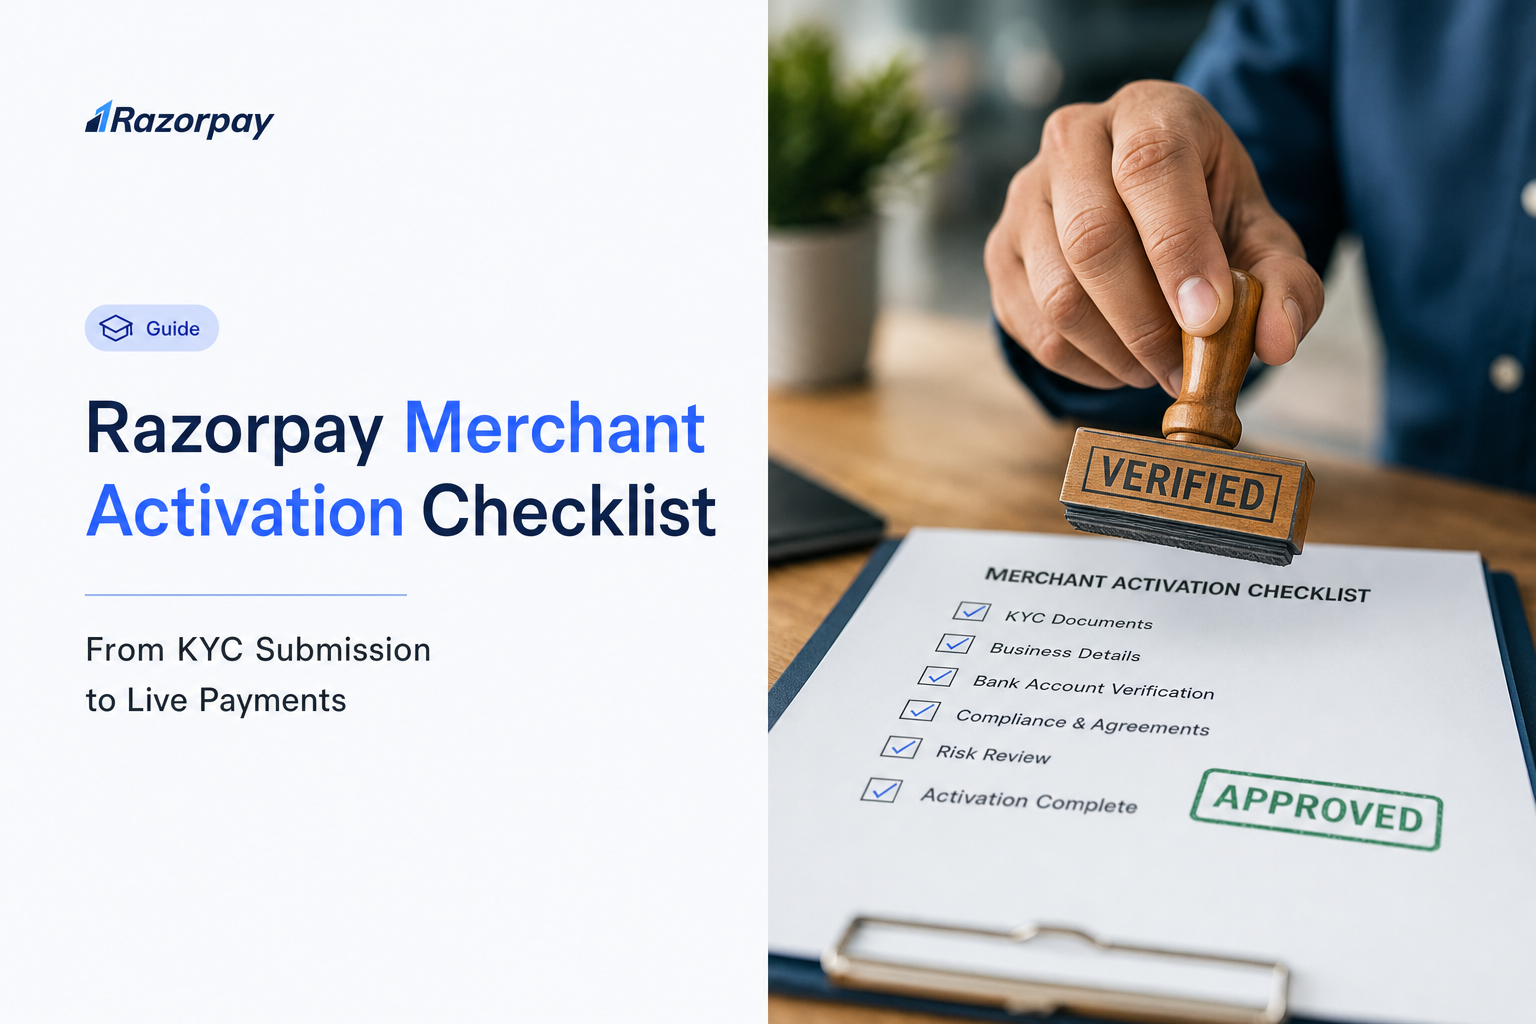
Merchant activation is the approval and account-configuration process that prepares an eligible business to accept live payments. Razorpay provides an India signup and KYC process for new merchant applications. The RBI authorised-operator register, dated 30 October 2026, lists Razorpay Payments Private Limited for online, physical and cross-border inward and outward payment aggregation. Your application must still complete the checks required for your business.
This checklist answers one question: what must you complete after KYC submission before you can collect and settle a real customer payment? It covers business documents, clarification requests, live readiness, optional international enablement and your first settlement check.
Key Takeaways
- Razorpay has a documented India application route. Verify the current authorised legal entity and the relevant payment activity, then complete your own merchant checks.
- Choose the correct business type before preparing documents. PAN, signatory and bank requirements depend on that choice and on the verification route shown to you.
- Successful CKYC retrieval can reduce repeated document work. If records or consent are unavailable, follow the alternative steps displayed for your application.
- Under review, needs clarification and activated mean different things. Respond to the requested action and confirm the account state before launch.
- Live payments require an activated account and the correct live configuration. Test mode uses no real money and has separate API keys.
- International cards require a separate request and approval. A captured live payment and a bank settlement are also different milestones.
Can New Merchants Apply for Razorpay After the RBI Payment Aggregator Rules?
Yes. Razorpay provides a signup and verification route for new Indian merchant applications. Check the provider’s current authorisation for the activity you need, then complete your business-specific approval process. Authorisation permits the provider’s payment activity. Activation approves your individual merchant account. These are two separate decisions.
Check the Authorised Entity and Payment Activity
Read the current RBI list of authorised Payment System Operators and match the row to your paperwork.
| Check | Verified position | What you should do |
|---|---|---|
| Legal entity | Razorpay Payments Private Limited, formerly Razorpay Software Private Limited | Match this to your agreement and service documentation, not just the brand name |
| Online collection | PA-O is listed | Follow the India merchant application and KYC route |
| Physical aggregation | PA-P is listed | Confirm product and account scope if you also need in-person acceptance |
| Cross-border activity | PA-CB inward and outward are listed | Confirm your specific payment flow and its separate product eligibility |
| Evidence date | Register dated 30 October 2026, checked 12 November 2026 | Recheck the register before you commit to a launch date |
Understand What the Rules Mean for Your Application
The Payment Aggregator Directions, 2025 set merchant due-diligence obligations. Provider capital rules are not merchant capital requirements. The application-status list is separate from final authorisation. Check the authorised entity and activities; a shared date-of-issue cell does not establish a separate PA-CB grant date. Our verification guide explains these checks.
DID YOU KNOW: A payment provider’s authorisation and your merchant account’s activation answer different questions. Check both before launch.
What Should You Prepare Before Submitting Razorpay KYC?
Prepare documents for your selected business type and verification route. Use this table as a preparation guide, then confirm exact requirements in the Dashboard and the official business-type KYC checklist. The minimum-documents guide adds practical context.
| Business type | Prepare or confirm | Important condition |
|---|---|---|
| Individual or unregistered business | Personal PAN, relevant identity or CKYC details, eligible settlement-bank details | Follow the individual route; an incorporation document is not a universal requirement |
| Sole proprietorship | Proprietor or signatory PAN, applicable business proof, bank details | Personal bank details may be accepted under the documented sole-proprietor route |
| Partnership or LLP | Firm PAN, authorised signatory details, constitution or business documents, bank details | Use the precise entity checklist rather than an individual checklist |
| Private or public limited company | Business PAN, signatory identity, incorporation or business information, bank details | Confirm the current documents requested for both company and signatory |
| Trust, society or other entity | Entity PAN, registration or constitution proof, signatory details, bank information | Additional permissions or category documentation may apply |
Keep GST conditional rather than universal. The account activation support guidance permits personal bank account details if you are unregistered or a sole proprietor. Do not convert that allowance into a rule for registered companies.
Choose CKYC or the Requested Alternative
Central KYC can reduce uploads when a retrievable record exists. For individual and unregistered business flows, the documented route uses your personal PAN, a check for an existing CKYC record, the mobile number linked to that record and an OTP, after which fetched details are shown for review. Registered businesses can involve entity-level and authorised-signatory checks instead. Where retrieval or consent fails, follow the displayed document or Video KYC route. Successful CKYC retrieval does not by itself prove the account is activated.
PRO-TIP: Select the correct business type first, then prepare signatory and bank details together. Do not submit a document bundle copied from a different entity type.
How Do You Submit KYC and Confirm Your Razorpay Activation Status?
Submission is a sequence, and each step has a visible completion signal. Work through the steps in order, answer any clarification exactly as asked, then confirm the account state before you configure live payments.
Follow the Application and Verification Steps
- Create or sign in to your India Razorpay account and verify your contact information.
- Confirm registered or unregistered status, business subtype, legal details and business category.
- Provide the PAN and signatory information requested for that business type, then review the fetched details.
- Complete CKYC consent or the displayed alternative verification route. Complete Video KYC only if your application requests it.
- Enter the correct settlement-bank details. If bank verification fails, follow the proof process the application requests.
- Submit the application, then check the Dashboard for clarification requests and correct the specific information asked for.
- Confirm the account reaches an activated state before moving to live readiness and any additional payment-method approvals.
The India setup documentation carries the current version of this flow.
Read the Account State Before Choosing the Next Action
| Account state | What it means | Your next action |
|---|---|---|
| Under review | KYC submitted and being reviewed | Check for pending requests and keep your application reference available |
| Needs clarification | More information or a correction is required | Answer the exact Dashboard clarification, nothing more and nothing less |
| Activated | KYC approved and the account is ready for payments and settlements | Complete live configuration and payment-method checks |
| Suspended | Account disabled for risk or compliance reasons | Contact official support for the account-specific resolution |
| Rejected | Submitted KYC was not approved | Review the stated reason and official guidance before any fresh application |
Once activation is complete, the record lives under Account and Settings, then Activation details within Business Settings. The Activation Details page shows the submitted activation form, the activated date and account access status. Treat it as a completed-activation record rather than a real-time review tracker, and do not expect a fixed review timeline.
What Changes If You Want to Accept International Payments?
The RBI register dated 30 October 2026 lists Razorpay Payments Private Limited for PA-CB inward and outward activities, and Razorpay announced its cross-border authorisation on 2 December 2025. That announcement date is a company communication date, not necessarily the regulator’s date of issue. Provider scope is not merchant entitlement: international card acceptance needs a separate request and banking-partner approval.
Separate Licence Scope From Product Enablement
| Provider PA-CB scope | Your merchant account state | International-card enablement |
|---|---|---|
| Inward involves foreign-exchange inflow; outward involves foreign-exchange outflow | Active account with completed KYC is the baseline requirement | Requires a separate request and approval before you can accept that payment type |
| Scope is recorded against the authorised entity in the register | Business category and risk review still apply to you | Website policy pages and additional details are checked |
| Cross-border classification varies by payment flow and settlement arrangement | Domestic activation does not automatically enable each international service | Banking-partner approval is a distinct gate |
A licence covering both directions does not mean a domestic merchant account can make unrestricted overseas vendor payouts, and not every foreign-card transaction is treated as regulated PA-CB activity. Our PA-CB licence explainer covers the categories; detailed flow mapping belongs with your compliance reviewer.
Request International Cards for an Eligible Account
- Confirm your account is active and KYC is complete.
- Publish the required website pages: Terms and Conditions, Privacy, Refund and Cancellation, and Shipping.
- Open Account and Settings, then International payments under Payment methods.
- Request activation and submit the additional details requested, including an Import Export Code where you sell tangible products. Check the current unsupported-business categories before applying.
- Wait for the relevant approval before accepting international cards.
The India international-card documentation requires those website sections and banking-partner approval. Check the international-payments overview for product scope.
DID YOU KNOW: Completing domestic activation does not automatically enable international card acceptance. Confirm the separate feature approval inside your account.
What Must You Check Before Accepting Your First Live Payment?
Complete the Live Readiness Checklist
- Confirm activation. Record that the account state is activated and the business profile is correct. A completed video call or a submitted form alone does not establish activation.
- Choose the collection route. Use a checkout integration for your app or site, or an enabled hosted collection product for a no-code use case.
- Finish sandbox testing. Test success, failure, cancellation, and return paths. The sandbox uses no real money. Keep the test payment references.
- Use the correct environment. Switch the relevant configuration to Live. An API integration needs separate live API keys. Keep secrets on the server.
- Check enabled methods. Confirm the methods you need are enabled under Payment Methods, available in Live mode, then confirm they are displayed through Payment Configuration.
- Verify the payment result correctly. Follow server-side signature verification in the standard integration steps and validate webhooks using the documented HMAC SHA256 check. A browser success screen is not sufficient evidence to fulfil an order.
- Check capture and operational handling. Confirm your capture configuration, refund process and named finance and support owners before you share the live checkout. The payment capture settings guide explains the available capture configuration.
- Verify an authorised first collection. Inspect the real payment’s status, amount, order reference and the subsequent settlement record before you declare launch complete.
Keep Test Success and Live Approval Separate
Both modes behave similarly, but only one moves money, according to the Test and Live Modes documentation.
| Check | Test mode | Live mode |
|---|---|---|
| Purpose | Validate integration behaviour | Accept approved real customer payments |
| Availability | Available after signup | Available after account activation |
| Money | No real funds move | Real funds, subject to capture and settlement conditions |
| API keys | Test keys for API integration | Separate live keys for API integration |
| What success proves | The tested sandbox path worked | Inspect actual payment and capture status; settlement remains a separate check |
PRO-TIP: Keep a launch record containing account, environment, enabled methods, test evidence, live payment reference and settlement owner. Never put API secrets or customer payment data in a shared checklist.
Agree who checks each launch result before you share the payment route with customers. Engineering should confirm the live environment and server-side payment verification. Operations should confirm the correct account, collection route and enabled methods. Finance should know how to locate the captured payment and its settlement record. Record an owner and the next action for any unresolved item. If the first live attempt fails, inspect its actual status before asking a customer to pay again; a browser message alone cannot tell your team whether a payment was completed. Keep this handoff with your existing application and support references.
What Should You Do If Razorpay Activation Is Still Pending?
Match the blocker to a specific next action instead of resubmitting the same information. An unresolved bank verification, a document clarification or a question about your business may require action. Read the actual request, respond precisely, then recheck the account state.
Match the Blocker to the Next Action
| What you see | Useful next action | Avoid this assumption |
|---|---|---|
| CKYC record not retrieved or consent failed | Follow the alternative route shown and complete the requested verification | That your business is ineligible, or that everyone must do identical Video KYC |
| Clarification on PAN, identity or business details | Correct the precise field or upload the requested proof | That every spelling variation automatically causes rejection |
| Bank verification failed | Recheck account details and submit only the proof the application requests | That every merchant needs the same type of current account |
| Under review without a clear next action | Check the Dashboard and contact support with your application reference | That a fixed universal activation deadline has been missed |
| Live keys or a payment method unavailable | Confirm activation, correct account, environment and method eligibility | That a sandbox payment enables every live method |
| International-card request pending | Respond to requested details and await banking-partner review | That domestic activation guarantees international approval |
| Suspended or rejected | Use the official account-specific resolution route | That duplicate accounts bypass the decision |
When you contact Razorpay Support, include your application reference, current account state, submission date, the exact clarification text received, what you have already changed and any existing ticket number. Never share PAN, Aadhaar, bank documents, passwords or API keys in a public forum. The account activation support documentation lists the details commonly requested, and our faster onboarding guide covers clarification handling.
When Assisted Onboarding Is Relevant
Razorpay documents a paid Assisted Onboarding option with a dedicated manager who helps from signup and KYC through verification, activation and the first transaction. Confirm the current fee, availability and terms before buying it, and read the guided and assisted onboarding overview. Approval still depends on verification and business review. This checklist works without that service.
PRO-TIP: Keep one clear record of the unresolved clarification and your response. That makes the next support conversation far more actionable than filing several unconnected requests.
How Do You Confirm Your First Collection and Settlement?
Check Payment, Capture and Settlement Separately
Three records tell you different things: the customer’s payment result, whether the payment was captured under your integration’s configuration, and whether a settlement reached your verified bank account. The settlements documentation states that settlement requires KYC approval, a fully activated account and a captured payment, and that the settlement cycle is subject to bank approval and can vary by business vertical and risk factors.
A worked scenario: your first customer payment is captured today. Record the payment reference, then check the settlement schedule shown for your account and look for the matching settlement record. Do not tell finance the money has reached the bank until that settlement is confirmed.
Hand Over the Launch Record
Give finance and operations one artefact containing the payment ID, order reference, capture status, fees and adjustments shown, expected settlement schedule, settlement ID, bank UTR and the named reconciliation, refund and support owners. The settlement reconciliation report can be downloaded from the Reports section to match transactions to settlement IDs. These are recommended operational records, not a regulator-prescribed form. Use your business-approved access controls for this record. Give each team the references it needs to investigate a payment without copying customer identity documents or secret credentials into the handoff. The Dashboard walkthrough shows where each record sits.
DID YOU KNOW: An activated account can be ready for payments while an individual collected payment is still awaiting settlement. Check the account milestone and the transaction milestone separately.
Which Razorpay Collection Route Fits Your Launch?
Choose the collection route that matches your launch task and the technical support you have available. All three routes still depend on an activated account and the applicable product eligibility.
| Your launch need | Relevant route | What to check before sharing |
|---|---|---|
| Payments within your app or website | Payment Gateway | Integration, server-side verification, enabled methods and live configuration |
| Send an individual customer a payment request | Payment Links | Enabled account and product, correct amount and reference, status handling |
| Publish a hosted collection page | Payment Pages | Page content, collection fields, relevant product approval and payment tracking |
Hosted products can reduce integration work for suitable use cases, but they do not remove KYC, eligibility or settlement checks. API-key instructions apply to an API integration and should not be imposed on a hosted collection workflow. If your launch also involves security sign-off, work through the security and compliance go-live checklist alongside this one.
Frequently Asked Questions
Is Razorpay accepting new merchant applications in India?
Razorpay provides an India signup and KYC route for new applications. The RBI register dated 30 October 2026 lists Razorpay Payments Private Limited for online, physical and cross-border inward and outward payment aggregation. Your business must still complete its applicable verification and approval checks before launch.
How long does Razorpay account activation take after KYC submission?
There is no single completion time established for every application. Razorpay documents faster verification through successful CKYC retrieval, while additional documents, clarification or further review may still be required. Follow the route and account state shown in your Dashboard. A paid Assisted Onboarding service has its own scope and conditions.
Can I test Razorpay before my account is activated?
Yes. Test mode is available after signup and uses no real money, so you can validate integration behaviour while completing account requirements. Live mode becomes available after activation, and an API integration uses separate live keys. A sandbox success message does not establish approval to accept live customer payments.
Does Razorpay’s PA-CB authorisation automatically enable international payments for my account?
No. Provider authorisation and merchant feature enablement are separate. For international cards, the official documentation requires an active account, completed KYC, the specified website policy pages and an activation request. Additional details and banking-partner approval apply. Inward and outward authorisation does not make every overseas payment available to every merchant.
What should I do if my account shows Needs Clarification?
Read the exact request in your Dashboard, correct the relevant details or provide the requested proof, then check the account state afterwards. Use official support if the action is unclear, keeping your application reference and existing ticket number together. Do not assume the request means final rejection.