

Creating video content for YouTube is one of the most popular video marketing methods. For any video marketer, the editing part is one of the most important parts of the post-production stage. If you don’t edit your cut to match the right frame or can’t weave your shots together aptly, your video may seem incomplete. Especially if you’re working with a tight budget, you may not have easy access to the best video editing tools and software that pros use.
How do you fine-tune your videos before uploading without expensive investment? Luckily for you, YouTube has a built-in web-based video editor that is easily accessible and completely free.
YouTube video editor is a basic editing tool, offering users features to trim clips out of any video section. This article will cover how to splice and stitch together your videos using the YouTube video editor.
How to Edit YouTube Videos?
1. Sign in to YouTube Studio
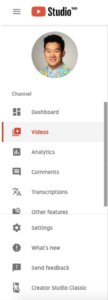
2. Click on ‘Videos’ on the left sidebar
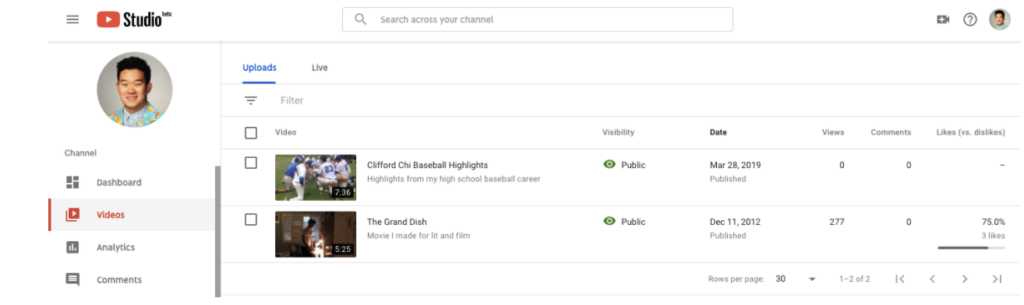
3. Go to ‘Uploads’, and click on the thumbnail of a video you’d like to edit
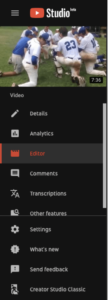
4. Click on ‘Editor’ from the left sidebar
5. Trim the ending or the start of your video
Right above your timeline panel and next to your video’s timer, you will find the ‘Trim’ button. Click here to start trimming the start or the end of your video.
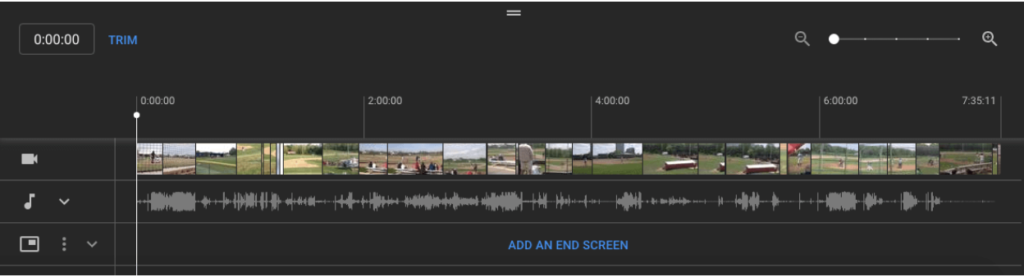
When you click on ‘Trim’, a blue-and-white line appears on the sides of your timeline panel. Drag these lines, either left or right, to chop the sections of your rough video that you don’t wish to include in the final version. It’s as easy as that!
Once you are done trimming the unnecessary parts out of your video, you can ‘Preview’ the edited video. For this, select ‘Preview’ and check out the final version. If it looks good, select ‘Save’.
Once you are done trimming the unnecessary parts out of your video, you can ‘Preview’ the edited video. For this, select ‘Preview’ and check out the final version. If it looks good, select ‘Save’.
6. Trim sections from the middle of a video
Sometimes you may want to trim sections in the middle, or somewhere between your video clip to make it look better. YouTube editor is an excellent tool to get the job done.
If you want to trim a section from the middle of your video, first select ‘Trim’. Then, from your video timeline area, click on the start of the video clip that you want to be trimmed out and select ‘Split’.
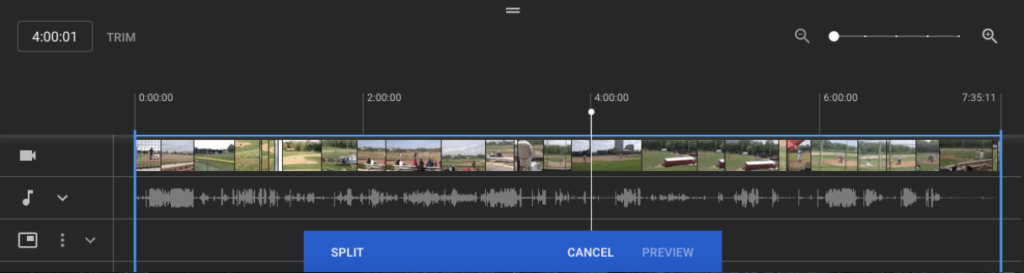
Next, from your video editing timeline, select the ending of the clip that you want to be trimmed out. Once you’ve made the selection, click on ‘Split’ to remove that part.
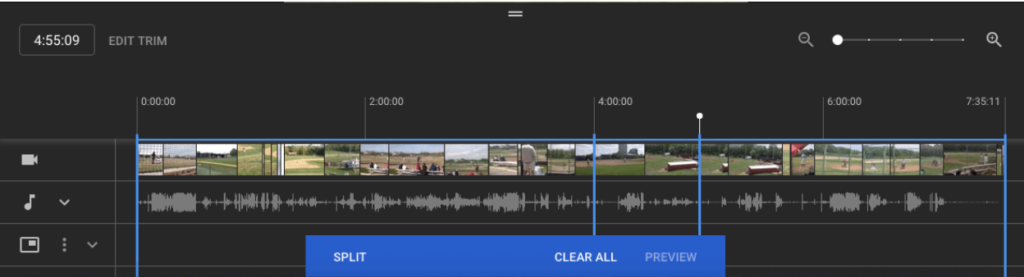
Then, hover over the blue line and press it, either at the end or the beginning of your video clip, to drag it from one side to the other to ensure that you’ve trimmed out the selected section out of your video. Once you click on ‘Preview’, you can view the finalized video clip. If you are satisfied with the final version of your edited video, click on ‘Save’ to save the changes.
7. Adding end screens to your YouTube videos
One of the important parts of learning how to edit YouTube videos is using the End Screen templates built into the YouTube editor. As a video marketer, you know that the final screen of your YouTube video should include a call to action.
If you want to prompt your viewers with the option of watching related videos, other playlists, or you want to ensure they subscribe to your channel by the end of your video, select ‘Add an end screen’ from your timeline panel.
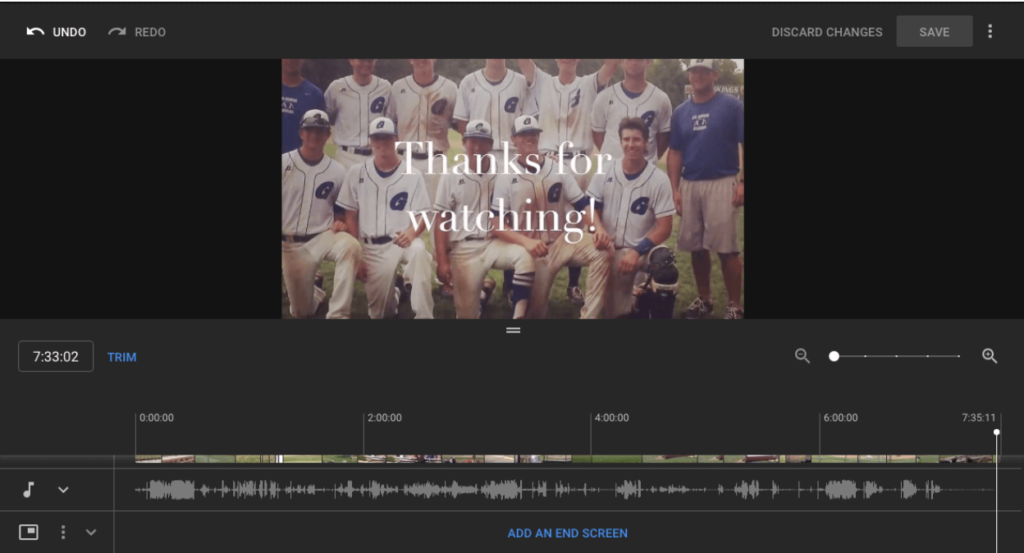
You have the option of creating an End Screen for your video from scratch or choosing from 5 existing YouTube End Screen templates.
In a few simple steps, you can use the basic features of the YouTube editor to trim, split, and add screens to your video. There are numerous options to edit the audio track using similar drag-and-drop tools, as mentioned above. However, before you upload a video to YouTube, you still need to consider some factors.
Here are 5 bonus tips to help when you’re putting together YouTube videos:
#1 Pick SEO keywords carefully
People who look up your YouTube video are going to key in words in the search bar. For your content to stand out as relevant and entertaining, you have to research the best way to frame your title, tags, description, and video file name. Using the right keywords can help your content rank better on search results pages and reach more viewers on YouTube.
#2 Include SEO keywords in key fields
Once you have the keywords shortlisted, use them in the relevant fields while publishing a video, such as:
- Video file name
- Video title
- Video description
- Tags
#3 Add your videos to an SEO targeted playlist
Clubbing similarly themed videos together into one SEO playlist is a good strategy. That’s because YouTube identifies your video based on the ranking it gets, the potential to reach more people. Thus, a playlist can help your video reach more people looking at that type of video.
#4 Create catchy thumbnails
Thumbnails create the first impression, and when somebody sees your video on the search results page, it’s the thumbnail and title that make it stand out. Encouraging users to click through and watch the video requires a special knack. Creating visuals that are likely to attract more clicks is the purpose of a catchy thumbnail. Many YouTube users mix visuals and texts to make a catchy thumbnail, which increases your chances of getting more clicks and thus views.
#5 15-second end screens
If you’ve managed to get a person to sit through your entire video, it was probably entertaining or valuable for them. Now, it’s time to make the most of your end screen. Factoring for a 15-second end screen is recommended to ensure that your message sticks with the viewer. The purpose of the end screen is to get them to take actions such as liking, sharing, subscribing, watching the next video, etc. So making an effective end screen is important. You could do this by following Step 7 from above or create your own.
Conclusion
So, those were the primary and simple steps involved in editing with the YouTube video editor to create effective content. Knowing how to edit YouTube videos is just as important as knowing how to create interactive videos.


