
So, here you are, going through your daily routine of tasks, sipping on a cup of coffee, doodling away to glory and all of a sudden the stranger in the next table at Starbucks asks you if you are willing to sell the mandala that you just carelessly sketched.
Inspiration strikes! Can you sell these beautiful sketches to consumers? Hope takes over and you are filled with adrenaline to satisfy that entrepreneurial spirit.
You quickly google what is the best way to start selling directly to consumers. Multiple blogs, webinars, online videos later, you realize – going live is easy. Simply create a cool looking website or blog on any of the leading website builder tools like Wix, WordPress, Weebly, Blogsite, add the beautiful pictures and lo and behold, you are a business owner.
But here is where it gets tricky. Ensuring consumers discover you is hard. Even harder is making sure that the customers who land up on your page, convert and become your paid customers.
While there is a lot of content out there on how to generate leads online for your business and building kick-ass websites for conversion, accepting payments is still a big question mark for a lot of budding entrepreneurs out there.
Going live with a payment gateway is difficult. It requires technical expertise. You need to build a complete checkout flow, integrate the payment gateway and buy cloud space to store the customer data. For an established business or entrepreneurs with investments behind them, this process is easy. They can hire website development and digital marketing agencies to take care of the entire process of going online.
But there are a large number of freelancers, consultants, creative content creators, NGOs, SMEs, conventional businesses who have recently decided to go online, who do not have the time, money, or resources to go through an agency and integrate a payment gateway.
Starting a new business comes with a set of challenges, accepting payments should not be one of them! Introducing Razorpay Payment Button. The fastest and easiest way to accept payments on your website. Start collecting payments on your website, in less than 5 minutes. No developer needed!
Related Read: What is a Payment Button?
If you have ever felt,
- The need for a quick payment option that can be added on any webpage without any integration efforts
- The need for a simple payment solution that can be used to experiment with an idea
- The need for an easy solution that can be used by without involving a tech expert
- Or a mobile-friendly solution that can get started without any coding requirement
…then, Razorpay Payment Button is the solution you are looking for.
What is Razorpay Payment Button?
Simply put, Razorpay Payment Button is a Do-It-Yourself solution to adding a payment gateway along with an integrated checkout on your website. Just Create, Copy and Collect. What’s that, you ask?
3 steps to collecting payments with Razorpay Payment Buttons.

Step 1: Create: Follow simple steps with a series of questions on the Razorpay dashboard which will help you create a button for your website. Choose from multiple templates or start from scratch. You get a lot of flexibility with the amount you want to collect, information of customer you can collect and the overall look and feel of the button
Steps 2: Copy: Once you have created the button, you will receive an embed code. This is an HTML code, similar to what you find when you want to embed a Youtube video on your page. It is as simple as that.
Pro Tip: Don’t forget to set up an automated receipt, custom thank you message, and redirection from the button settings.
Step 3: Collect: Add this embed code on your website and you are ready to start accepting payments. Adding the code is easy. We even have a series of video tutorials on how you can do this.
Thousands of businesses, freelancers and consultants are already using Payment Buttons to accept money on their website and blog. Let’s follow the journey of four of our users:
Anoop: A freelancer based out of Mumbai
1. Who is Anoop?
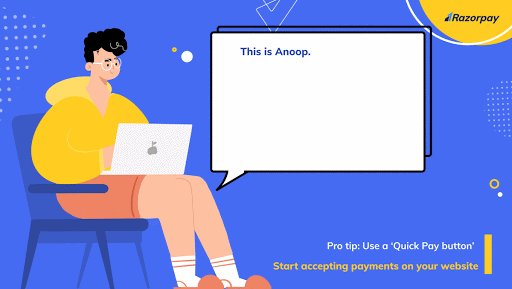
2. Why did he choose the Razorpay Payment Button?
- Go live within 5 minutes: Anoop has a lot of ideas. To experiment with them he needs a quick fail-safe solution. Anoop was able to create, copy and start collecting payments via Payment Button on his website in less than 5 minutes. No developer needed.
- Unlimited secure Payment Buttons: Razorpay Button allows you to create unlimited Payment Buttons from your dashboard within minutes, completely free of cost.
-
- Show a custom page on successful payment: On receiving a successful payment, Anoop is able to show a custom message and send his customers to a new page. Here, they can get more details on his program as a paid customer.
3. Which template did he use to create a button for his site?
Anoop chose a Quick Pay Button. With this, he is able to collect basic customer details and collect a single amount for his consultation sessions. The number of details a customer needs to fill is less. Overall, this button helps in quick conversions.
Still need more information? Check out this step by step tutorial on how you can add a button to your Google Site.
Lenny, Founder and treasury of an NGO
1. Who is Lenny?

2. Why did he choose Payment Buttons?
-
- No setup fees: With a new NGO at hand, Lenny wanted to save costs and not jump into complex and costly integrations. This has almost become a #RazorpayRitual! Just like most of our other products, Payment Button also comes with zero setup fees and maintenance charges.
-
- 100+ payment modes + International payments: At a time where people have their own favourite mode of payment, it is very important for Lenny to offer all the modes of payments for collecting donations. With the added advantage of an international payment gateway, support for international payments, and the ability to add a PayPal account, adding a button was a no-brainer.
-
- Automated 80 G receipts: This has been a boon for many NGOs. Ability to send an automated 80G receipt on successful donations saves precious man-hours and resources.
3. Which button did he create for this NGO?
Lenny chose a Donate Button. It comes with multiple presets for collecting donations for various causes. These can be easily customized. You can also collect a lot of information about the donors, including PAN number which comes with an inbuilt validation check.
Still need more information? Check out this step by step tutorial on how you can add a button to your BlogSite.
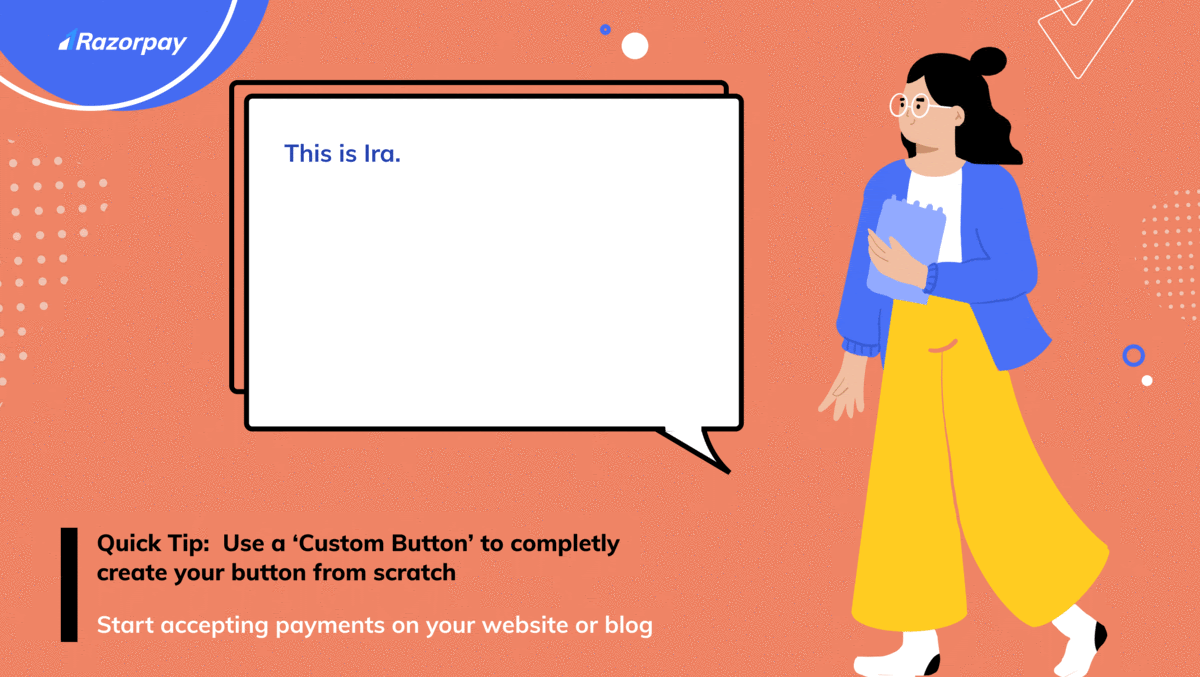
Ira: Digital content creator
-
Who is Ira?
-
Why did she choose the Payment Button?
- Completely Customizable: Ira wanted to ensure the button shows her brand. She was able to customize and create the design to align it with her brand’s theme.
- Mobile friendly: Since the entire world is moving towards mobile-first experience, Razorpay Buttons also comes with an inbuilt mobile-friendly ecosystem. Ira was able to offer a stellar experience to her customers as 70% of her user base used mobiles to buy her products.
- Set up stock and number of units: Ira was able to define a limit for each item to ensure she doesn’t oversell the stock. She was easily able to do inventory management.
3. Which button did she create for her site?
Ira chose a Buy Now Button. This allowed her to set up the button with multiple amounts for various items and varying quantities by embedding this button.
Still need more information? Check out this step by step tutorial on how you can add a button to your Godaddy Website.
Please note: You can use Razorpay Buttons even if you don’t have a website. You can embed this Payment Button within your blog, an online store, or your social media platforms.
[Recommended read: Build Your Own Online Store with Razorpay Payment Pages]
Dr. Sania: An urban doctor
1. Who is Dr Sania?
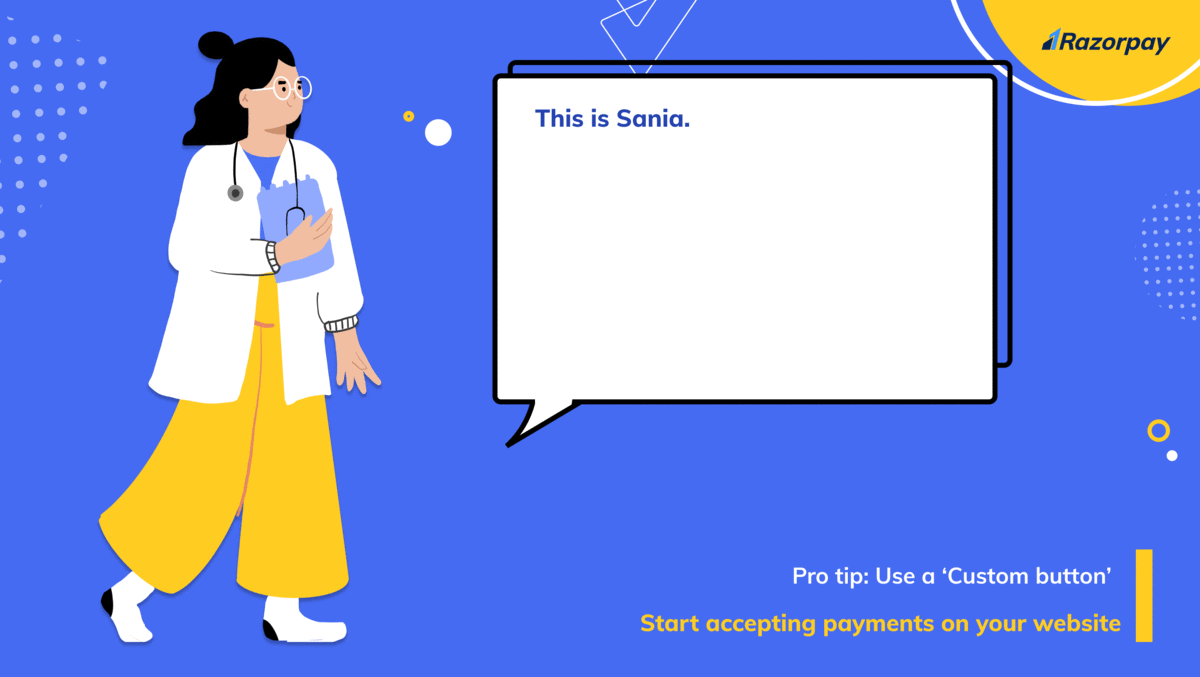
2. Why did she choose the Payment Button?
- High Flexibility: Sania wanted to allow the patients to fill in the total amount they need to pay. This highly flexible feature of buttons allowed her to collect payments with ease.
- Zero codings required: She didn’t want to put in a lot of time and energy in integrating a payment gateway. With COVID impacting the overall consumer behavior, she wanted contactless payments. She was able to add a button to the website on her own.
- She was able to ensure a secure money movement with Razorpay’s PCI DSS compliant technology.
3. Which Button did she create for her clinic website?
Sania decided to go for the Custom Button. This allowed her to design the button to accept different amount types, custom details, and more, etc.
Still, need more information? Check out this step by step tutorial on how you can add a button to your Wix Website.
Razorpay Payment Button aims to empower you to create, customize, and publish a button on your own without worrying about any technical stuff or even relying on someone else for it. Offer your customers a seamless payment experience while you give yourself higher conversions. At last, get set to #OutgrowOrdinary with Razorpay.
If this seems like a product for you, join the Razorpay family and get started today. Say goodbye to those tough hours of web-surfing & integration now!


