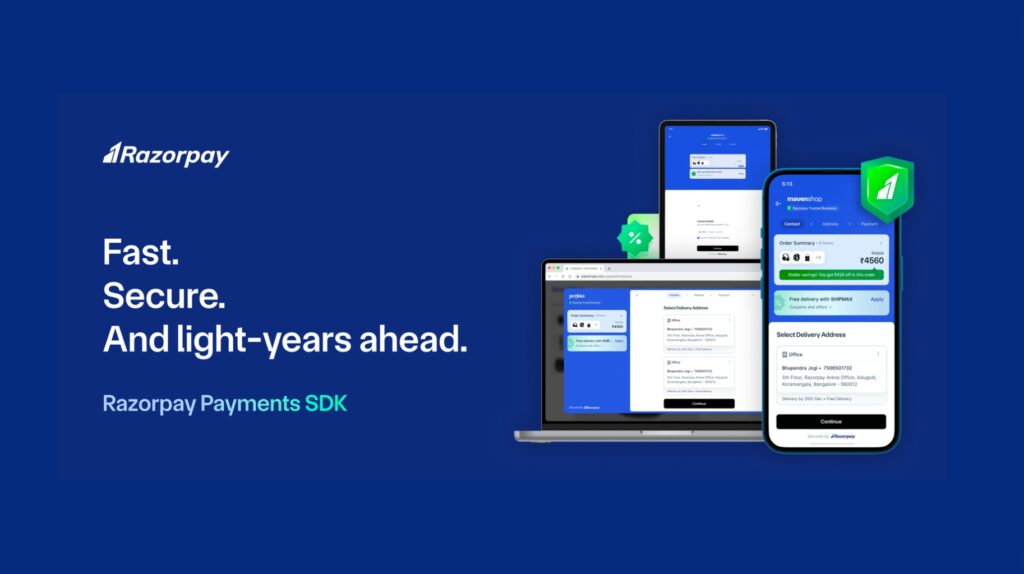
In our previous Razorpay Payments SDK upgrades blog post, we delved into the latest enhancements introduced to the Razorpay Payments SDK, highlighting the myriad of upgrades designed to elevate your payment integration experience. Now, armed with knowledge of these enhancements, it’s time to embark on the journey of upgrading your SDKs to leverage these cutting-edge features.
This comprehensive guide serves as your roadmap, providing step-by-step instructions tailored to each platform—Android, iOS, React Native, Capacitor, and Ionic—ensuring a seamless transition to the latest versions of Razorpay SDKs.
So, without further ado, let’s dive into the world of SDK upgrades and unlock the full potential of Razorpay Payments for your applications.
Read about our latest enhancements to Razorpay Payments SDK upgrades here.
How to Check Your Razorpay SDK Version?
Note: Before diving into the upgrade process, check out our blog on Introducing Auto-Update for Razorpay’s Native Android SDKs to learn how the auto-update feature simplifies SDK management and keeps you up to date with the latest versions automatically.
Android Native
1. Open your Android project in Android Studio.
2. Navigate to the `build.gradle` file of your app module (usually `app/build.gradle`).
3. Look for the `dependencies` block in the file.
4. Find the line that includes the Razorpay SDK dependency.
5. The version number will be alongside the SDK name in the format`x.y.z`.
iOS Native
1. Open your iOS project in Xcode.
2. In the project navigator, locate the `Podfile` in the root directory of your project.
3. Open the `Podfile` and look for the line that specifies the Razorpay SDK pod.
4. The version number is represented by `x.y.z`.
Cordova
1. Open your Cordova project in your preferred code editor.
2. Navigate to the `config.xml` file in the root directory of your project.
3. Look for the `<plugin>` tag that includes the Razorpay SDK plugin.
4. The version number is represented by `x.y.z`.
Ionic
1. Open your Ionic project in your preferred code editor.
2. Open the `package.json` file in the root directory of your project.
3. In the `dependencies` section, look for the razorpay entry.
4. The version number is specified next to the package name in the format `x.y.z`.
Flutter
1. Open your Flutter project in your preferred code editor.
2. Open the `pubspec.yaml` file in the root directory of your project.
3. In the `dependencies` section, look for the razorpay entry.
4. The version number is specified next to the package name in the format x.y.z.
Capacitor
1. Open your Capacitor project in your preferred code editor.
2. Open the `package.json` file in the root directory of your project.
3. In the `dependencies` section, look for the razorpay entry.
4. The version number is specified next to the package name in the format x.y.z.
Note: Below are the minimum supported versions that meet compliance standards. Any version above these will also be compliant.
| Native Android | Native iOS | React Native | Ionic | Cordova | Flutter | Capacitor | |
| Standard Checkout |
1.6.41
|
1.3.6
|
2.2.9 | NA |
1.4.15
|
1.3.3 | 1.1.1 |
| Custom Checkout | 3.8.7 | 2.0.10 | 2.2.2 | NA | NA | 1.3.0 | NA |
Razorpay Payments SDK Upgrades
Upgrading Android SDKs
Standard:
To upgrade the Standard Android SDK, follow these steps:
Check the Latest Version: Check the latest version of Standard Checkout here.
Update Gradle: In the app-level Gradle build file, update the SDK version to the latest release.
| dependencies { // … other dependencies // For Razorpay checkout SDK implementation ‘com.razorpay:checkout:<latest-version-number-goes-here>’ // … other dependencies } |
Sync Gradle: Once the Gradle syncs, inspect for compile-time errors and refactor the code to accommodate any newer changes.
Sanity Check: Perform a thorough check to ensure all changes are correctly implemented. If everything looks good, your upgrade is complete.
Note- Minimum compliant version required.
Custom:
To upgrade the Custom Android SDK, follow similar steps:
Check the Latest Version: Check the latest version of Custom Checkout here.
Update Gradle: In the app-level build.gradle file, update the SDK version in the dependencies section.
| dependencies { // … other dependencies // For Razorpay checkout SDK implementation ‘com.razorpay:customui:<latest-version-number-goes-here>‘ // … other dependencies } |
Sync Gradle: After updating, sync Gradle and check for any compile-time errors.
Sanity Check: Ensure all changes are correctly integrated and the application functions as expected.
Upgrading iOS SDKs
Standard:
For upgrading the Standard iOS SDK, adhere to the following steps:
Update Podfile: In your project’s Podfile, specify the latest version of the SDK. Click here to learn more about the update.
Note: Not mentioning any version will automatically pick the latest version from Cocoapods.
| platform :ios, ‘11.0’
target ‘ProjectName’ do use_frameworks! pod ‘razorpay-pod’ end |
Update Pods: Run pod repo update to fetch the latest release versions of the pods.
Sanity Check: After updating, ensure that the integration is successful and there are no issues with the updated SDK.
Custom:
For the Custom iOS SDK upgrade:
Update Podfile: Similar to the Standard SDK, update the Podfile with the latest version of the Custom SDK. Click here to learn more about the update.
Note: Not mentioning any version will automatically pick the latest version from Cocoapods.
| platform :ios, ‘11.0’
target ‘ProjectName’ do use_frameworks! pod ‘razorpay-customui-pod’ end |
Run Pod Update: Execute pod repo update to fetch the latest release versions of the pods.
Verify Integration: Verify that the updated SDK integrates seamlessly with your project and doesn’t cause any disruptions.
Upgrading React Native / Capacitor / Ionic Package with NPM
For upgrading these packages using npm:
Navigate to Project Directory: Open a terminal or command prompt and navigate to your project directory where the package.json file resides.
Update Specific Package: Use the npm update command followed by the package name to update a specific package to its latest version.
Example:
npm update <razorpay_package_name>
- Replace <package_name> with the name of the package you want to update.
- Package names:
| Framework | Standard | Custom |
| React native | react-native-razorpay | react-native-customui |
| Capacitor | https://github.com/razorpay/razorpay-capacitor.git | NA |
| Ionic | https://github.com/razorpay/razorpay-cordova.git |
Review Updates: After running the update command, review the updates fetched by npm to ensure they don’t introduce any breaking changes.
Test Application: Conduct thorough testing to ensure that the updated packages don’t affect the functionality of your application adversely.
Commit Changes: If everything is functioning correctly, commit the changes to your version control system to share the updates with other developers.
To learn more about these updates, click here.
Upgrading Flutter
For Flutter projects utilizing Razorpay packages, upgrading is a breeze. Follow these steps:
Navigate to Project Directory: Open a terminal or command prompt and navigate to your project directory, where the package.json file is located.
Run Flutter Pub Upgrade: Once in the project directory, execute the following command:
dart pub upgrade <razorpay_flutter_package_name>
This command upgrades the dependencies listed in your pubspec.yaml file to their latest compatible versions.
Package Names:
Standard: razorpay_flutter
Custom: razorpay_flutter_customui
Review Updates: After the upgrade, review the updates fetched by npm to ensure they didn’t introduce any breaking changes or conflicts with your code.
Test Your Application: Conduct thorough testing to ensure that everything functions as expected with the new versions.
Commit Changes: If all checks out, commit the changes to your package.json and package-lock.json (if present) files to version control, allowing other developers working on the project to benefit from the updates.
Note: To learn more about the update, click here.
Upgrading Cordova Packages
To check your Razorpay SDK version follow these steps:
- Open your Cordova project in your preferred code editor.
- Navigate to the `config.xml` file in the root directory of your project.
- Look for the `<plugin>` tag that includes the Razorpay SDK plugin.
- The version number is represented by `x.y.z`.
For Cordova projects integrating Razorpay packages, upgrading follows these steps:
Navigate to Project Directory: Open a terminal or command prompt and navigate to your project directory, where the package.json file is located.
Update Specific Package: Use the following command to update the Cordova package to its latest version:
cordova plugin update com.razorpay.cordova –save
Review Updates: After updating, review the updates fetched by npm to ensure they didn’t introduce any breaking changes or conflicts with your code.
Test Your Application: Conduct thorough testing to ensure that everything functions as expected with the new versions.
Commit Changes: If all checks out, commit the changes to your package.json and package-lock.json (if present) files to version control, enabling other developers working on the project to benefit from the updates.
Note: To learn more about the update, click here.
Conclusion: Razorpay Payments SDK Upgrades
Upgrading SDKs is crucial to leverage new features, enhancements, and bug fixes. By following the outlined steps specific to each platform, you can ensure a smooth transition to the latest Razorpay Payment SDK upgrades, thereby enhancing your application’s performance and user experience. Always remember to thoroughly test your application after the upgrade to catch any unforeseen issues before deploying to production.
Frequently Asked Questions
Q1: Would this entail downtime of the payment link?
Answer: No, this update will not cause any downtime for the payment link.
Q2: Would there be any change to the settlement process post upgradation?
Answer: There will not be any change in the settlement process after the upgrade.
Q3: Would it entail changes to be done in the SAP APIs to accommodate any changes?
Answer: There will not be any changes to the APIs either.


