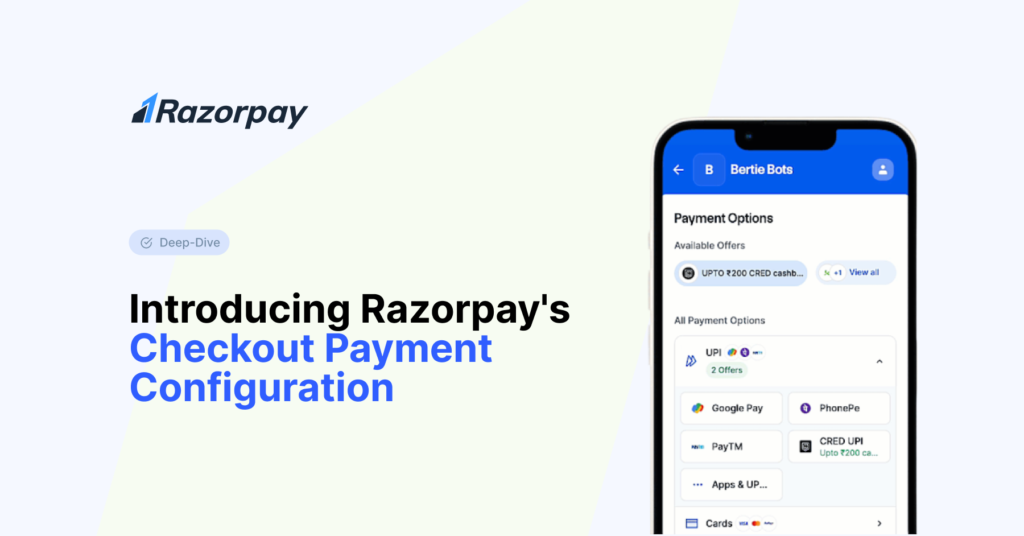
The way customers experience checkout can make or break a purchase. A cluttered or restrictive payment flow often leads to drop-offs, while a smooth and flexible checkout keeps transactions moving. With Checkout Payment Configuration on the Razorpay Dashboard, you now have full control over how payment options appear, ensuring a frictionless experience tailored to your business needs.
Introducing Razorpay’s Checkout Payment Configuration
The Checkout Payment Configuration feature offers businesses comprehensive control over their payment methods, enabling them to:
- View and Manage Default Payment Configurations: Easily access existing payment setups to ensure they align with current business strategies and customer needs.
- Create and Save Custom Blocks with Filters: Design tailored payment configurations using specific filters, allowing for a more personalized and efficient checkout process.
- Reorder, Enable, or Disable Payment Methods: Prioritize preferred payment options by rearranging their order, activating, or deactivating methods based on relevance and customer usage patterns.
- Set Any Configuration as Your Default Checkout Experience: Implement the most effective payment setup as the standard, ensuring consistency and optimal performance.
Benefits of a Customized Checkout
Implementing a customized checkout experience offers the following advantages:
- Enhanced Conversion Rates: By simplifying the payment process and highlighting preferred methods, businesses can reduce friction, leading to higher conversion rates.
- Improved Customer Satisfaction: Offering payment flexibility caters to diverse business needs, enhancing the overall shopping experience and encouraging repeat purchases.
Further streamline your checkout and experience the magic of even faster conversions. Consider enabling Razorpay’s Magic Checkout for an ultra-smooth, one-click payment experience.
Getting Started with Checkout Payment Configuration
This feature is now live on the Razorpay Dashboard! You can start customizing your checkout experience right away.
To leverage this feature:
- Navigate to the Dashboard: Log in to your Razorpay account and go to Settings > Checkout > Payment Configuration.
- Create or Edit Configurations: Select “Create Custom Configuration” to design a new setup or “Edit Existing” to modify current configurations.
- Save Your Configuration: After making changes, click “Save” to store the configuration for future use.
- Apply the Configuration: After customizing, click “Save as Default” to make it the default checkout experience for your customers.
For a detailed step-by-step guide, refer to our technical documentation.

Use a Configuration ID
For businesses looking for greater flexibility, Razorpay allows you to create a Configuration ID, enabling you to dynamically control checkout settings.
What is a Configuration ID?
A Configuration ID is a globally saved payment setting that can be passed while creating an order. This is particularly useful for businesses that want to modify checkout configurations dynamically.
You can create a Configuration ID through the Dashboard.
By utilizing Razorpay’s Checkout Payment Configuration, businesses can enhance their checkout process, leading to improved customer experiences and increased conversion rates.


