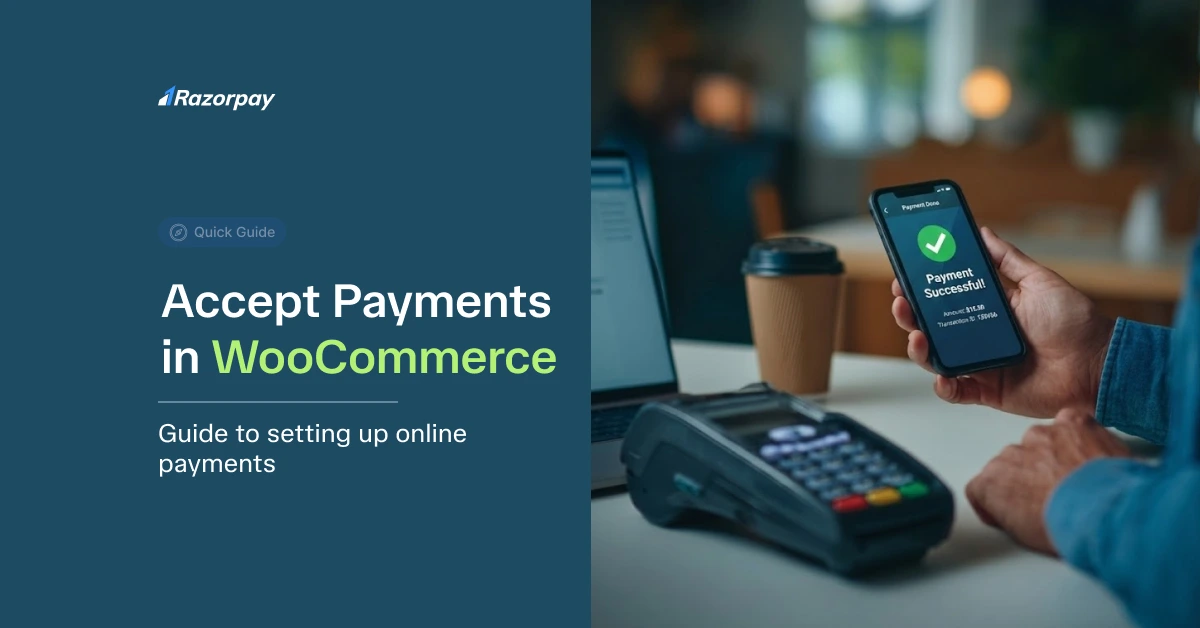
You’ve harnessed the power and flexibility of WordPress and WooCommerce to build your online store, targeting the dynamic Singapore market. Your products are ready, your site looks great – but how will customers actually pay you? To turn your WooCommerce site into a revenue-generating business, you need to integrate a secure and reliable payment technology platforms.
WooCommerce itself doesn’t process payments. It relies on integrations with third-party providers, known as payment platforms or gateways, to handle the complex and sensitive task of securely accepting money online. For Singaporean merchants, choosing the right platform and setting it up correctly is paramount to building customer trust and maximizing sales.
This guide provides a clear, step-by-step walkthrough on how to set up a payment platform in WooCommerce, enabling you to accept all the essential local payment methods your Singaporean customers expect.
Key Takeaways
- Payment Platform is Required: WooCommerce needs an external payment platform integration to process any online transactions.
- Local Methods are Crucial: Your store must accept PayNow, credit/debit cards, and popular digital wallets to succeed in the Singapore market.
- Integration via Plugins: The easiest way to connect a payment platform is by using a dedicated WordPress plugin, typically requiring no coding.
- Security is Non-Negotiable: Always choose a PCI DSS compliant payment platform to protect your business from fraud and data breaches.
- A Unified Solution Streamlines Operations: A modern payment technology platform like Razorpay offers a single plugin to accept all key payment methods, simplifying management and reconciliation.
Why Your WooCommerce Store Needs a Payment Platform
WooCommerce provides the e-commerce framework – the product pages, cart, and checkout structure. However, the actual processing of sensitive payment information (like card numbers or bank authentications) requires a specialized, secure service. This is where a payment platform comes in. It acts as the secure intermediary between your website, your customer, and the relevant banks or payment networks.
Choosing the Right Payment Platform for Singapore
Before you start the setup, selecting the right partner is vital. For a WooCommerce store targeting Singaporean customers, ensure your chosen platform offers:
- Full Support for Singaporean Payment Methods: This is non-negotiable. Look for PayNow (QR & UEN), Visa, Mastercard, Amex, Apple Pay, and Google Pay.
- A Dedicated WooCommerce Plugin: This ensures a simple, reliable integration and ongoing compatibility with WooCommerce updates.
- Transparent Pricing: Clear, understandable fees with no hidden costs.
- Robust Security: Full PCI DSS compliance is essential to protect against data breaches and build customer trust.
A unified payment technology solution like Razorpay is specifically designed for the Singapore market, providing a powerful, easy-to-use WooCommerce plugin that meets all these requirements.
How to Set Up Razorpay’s Payment Technology Platform in WooCommerce: A 5-Step Guide
Integrating a modern payment technology platform like Razorpay with your WooCommerce store is a straightforward process using a WordPress plugin.
Step 1: Create Your Razorpay Account
First, you need an active merchant account with the payment platform.
- Visit the Razorpay Singapore website and sign up.
- Complete the online Know Your Business (KYB) verification by submitting your ACRA registration and bank details.
- Once approved, you will gain access to your live merchant dashboard.
Step 2: Generate Your API Keys from the Razorpay Singapore Dashboard
API keys securely link your WooCommerce store to your payment platform account.
- Log in to your Razorpay Singapore dashboard.
- Navigate to Settings > API Keys.
- Generate your unique Key Id and Key Secret. Keep these credentials confidential.
Step 3: Install the Razorpay Singapore Plugin on Your WordPress Site
Use the official WordPress plugin for the easiest integration.
- Log in to your WordPress Admin dashboard.
- Go to Plugins > Add New.
- Search for “Razorpay for WooCommerce” (or the specific name provided by the platform).
- Find the official plugin, click “Install Now,” and then “Activate.”
Step 4: Configure the Plugin in WooCommerce Settings
Connect the plugin to your account using the API keys.
- In your WordPress dashboard, navigate to WooCommerce > Settings > Payments.
- Find “Razorpay Singapore” (or the specific name) in the list and click “Manage.”
- Check the box to “Enable Razorpay”.
- Carefully paste the Key Id and Key Secret from your dashboard into the corresponding fields.
- Customize the title and description shown to customers at checkout (e.g., “Securely Pay with PayNow, Cards & Wallets”).
- Review other settings, such as enabling specific payment methods.
- Click “Save changes.”
Step 5: Run a Test Transaction Before Going Live
This is a critical final check.
- Go to your live website and add a low-value test product to your cart.
- Proceed through the entire checkout process. You should see the payment option you just configured.
- Complete the purchase using a real payment method (e.g., PayNow or a credit card).
- Verify that the payment is successful on your store, the order appears correctly in WooCommerce > Orders, and the transaction details are visible in your Razorpay Singapore dashboard.
Once tested successfully, your WooCommerce store is ready to securely accept online payments from customers in Singapore!
Did You Know?
WooCommerce powers nearly 30% of all online stores globally, making it the most popular e-commerce platform worldwide.
Its flexibility and vast plugin ecosystem allow businesses to create highly customized online shopping experiences.
Conclusion: A Simple Integration for a Powerful E-commerce Platform
Setting up a payment platform is the final, essential step to monetizing your WooCommerce store. By choosing a partner like Razorpay that understands the Singaporean payment landscape and offers a simple plugin-based integration, you ensure a secure, trustworthy, and convenient checkout experience for your customers. This builds confidence, reduces cart abandonment, and provides an efficient way to manage your online revenue as your business grows.
Ready to Start Accepting Payments on Your WooCommerce Store?
Don’t let payment setup be a barrier. Integrate a trusted payment technology platform quickly and start selling to your Singaporean customers today.Learn more about Razorpay Singapore’s seamless WooCommerce integration
Frequently Asked Questions (FAQs) for Singapore WooCommerce Merchants
Do I need a registered business (ACRA) to use a payment platform in Singapore?
Yes. To obtain a merchant account with a legitimate payment platform in Singapore, you are generally required to have a business registered with the Accounting and Corporate Regulatory Authority (ACRA). This is standard practice for KYC/KYB verification.
How quickly does the money from sales get settled into my bank account?
Settlement times vary by provider, but the standard cycle in Singapore is typically T+2 or T+3 business days. This means funds should appear in your registered business bank account two or three working days after the transaction.
How does using a payment platform help with PCI DSS compliance for my WooCommerce store?
Using a PCI DSS compliant platform significantly reduces your compliance burden. The platform’s secure integration (often using hosted fields or redirects) ensures that sensitive cardholder data is processed on their secure servers, not directly on your website’s server. This minimizes your risk and the scope of PCI requirements you need to manage yourself.
Can I offer subscription or recurring payments on WooCommerce?
Yes, WooCommerce is excellent for subscription models. However, you typically need both a subscription management plugin (like WooCommerce Subscriptions or a similar tool) and a payment platform that explicitly supports recurring billing capabilities, such as Razorpay.
