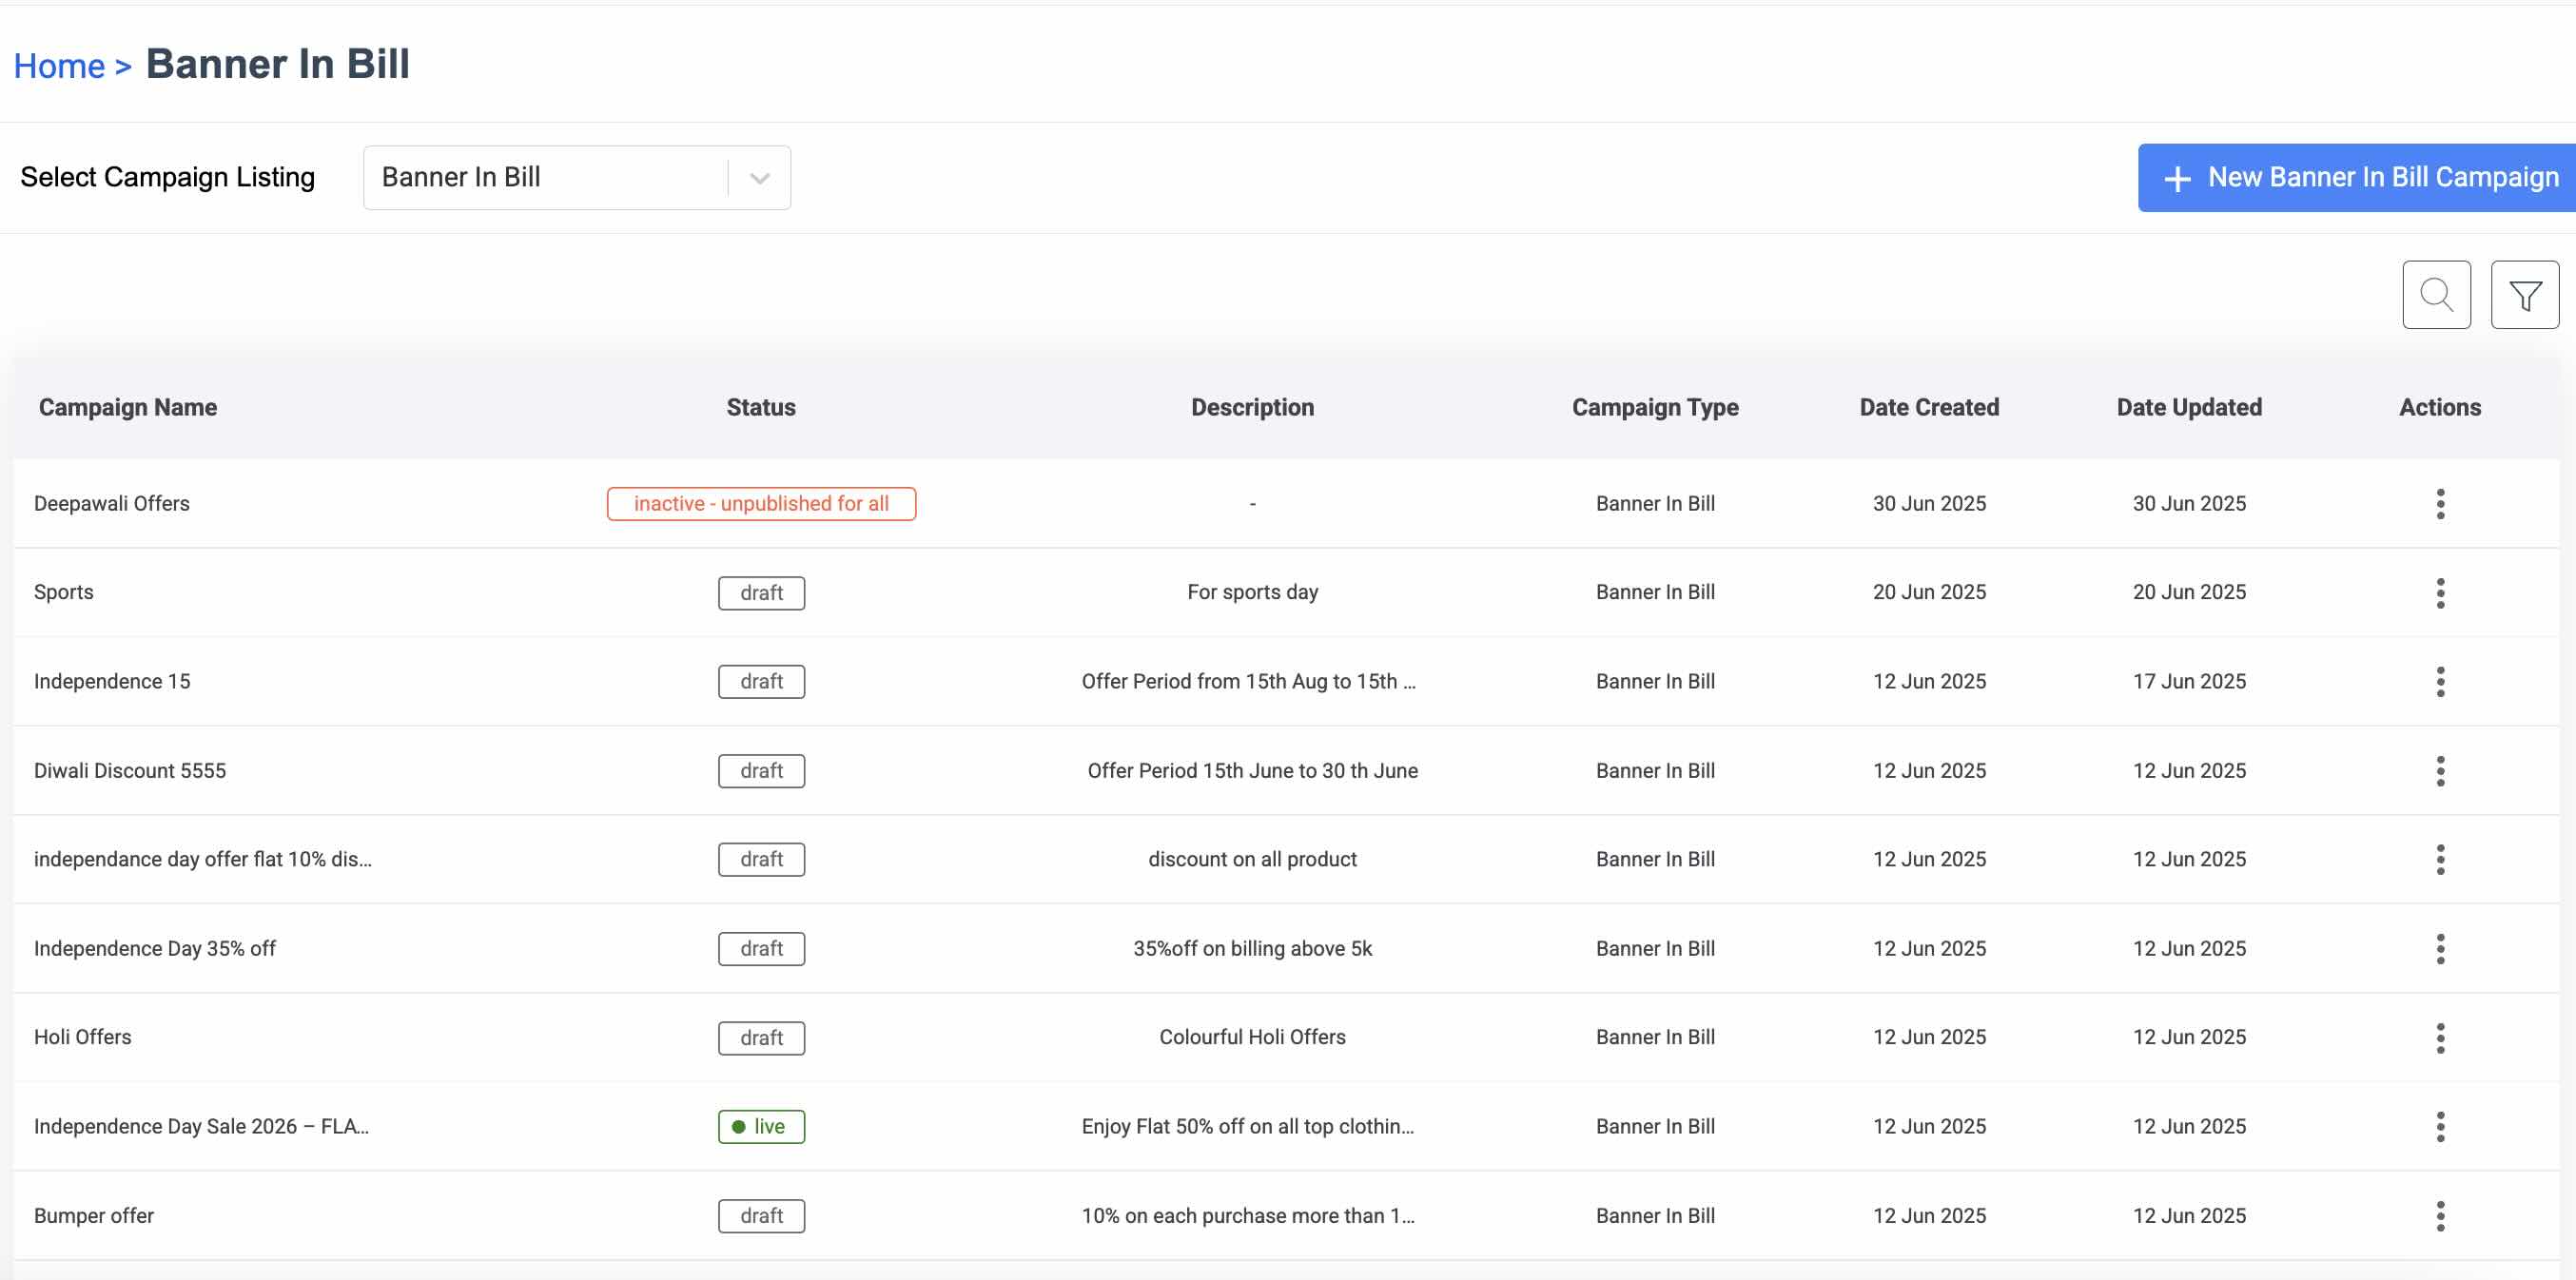
 2. Click **+ New Banner In Bill Campaign**. The **Banner in Bill - New Campaign** page appears.
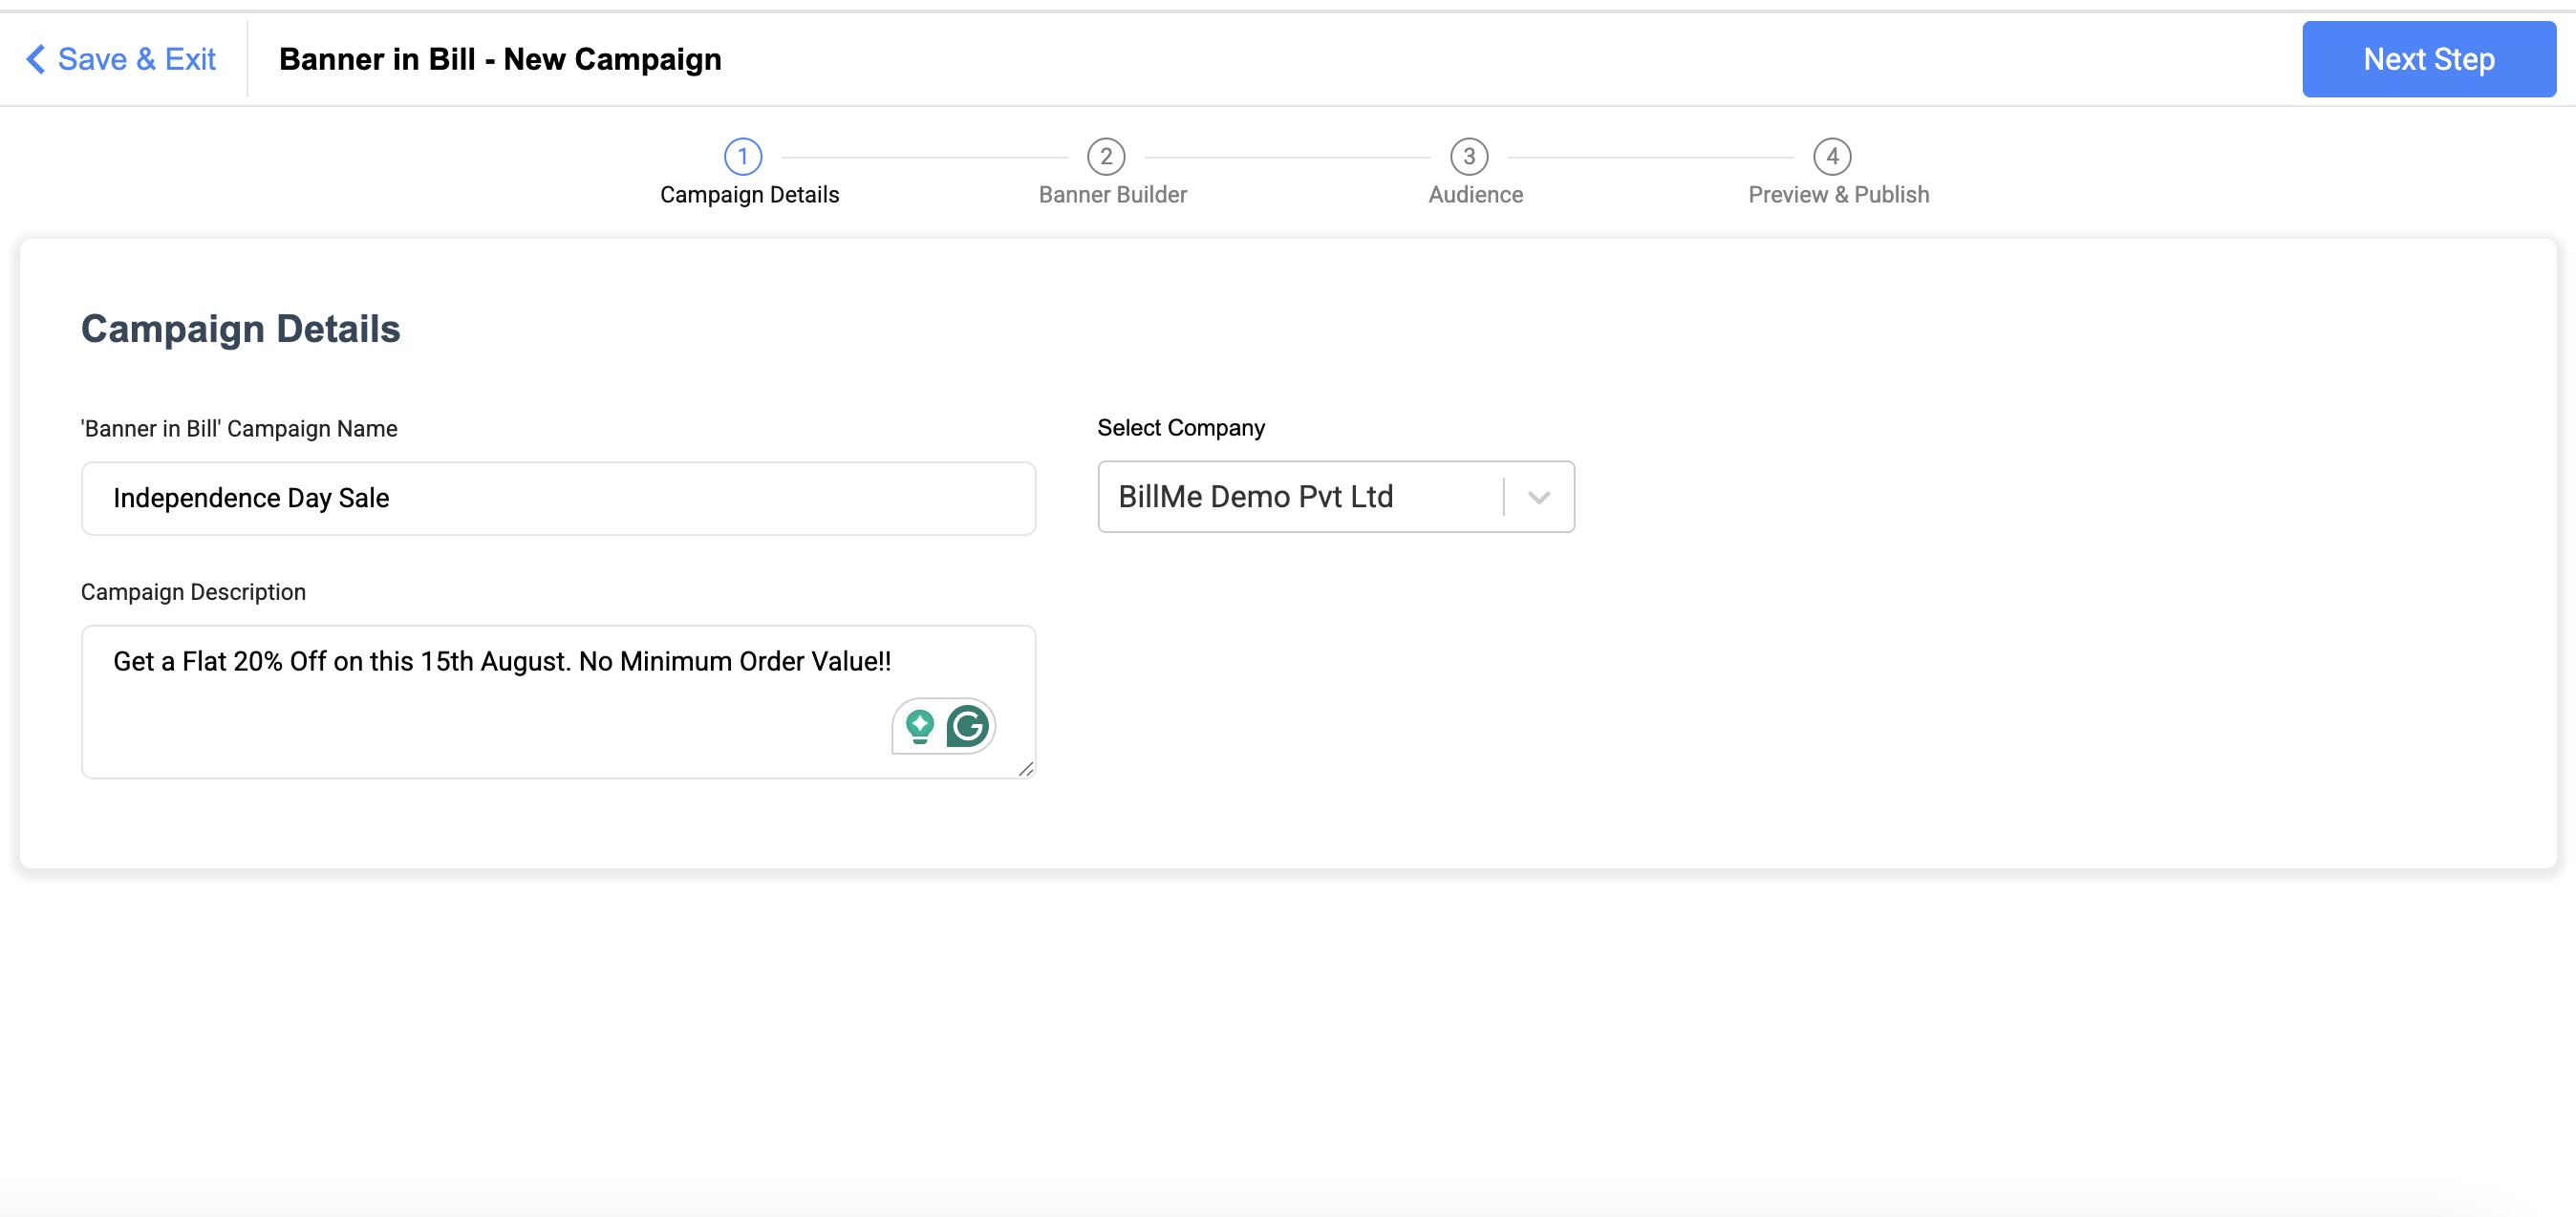 3. Enter the **Campaign Details**, select company and click **Next Step**. The **Banner Builder** page appears.
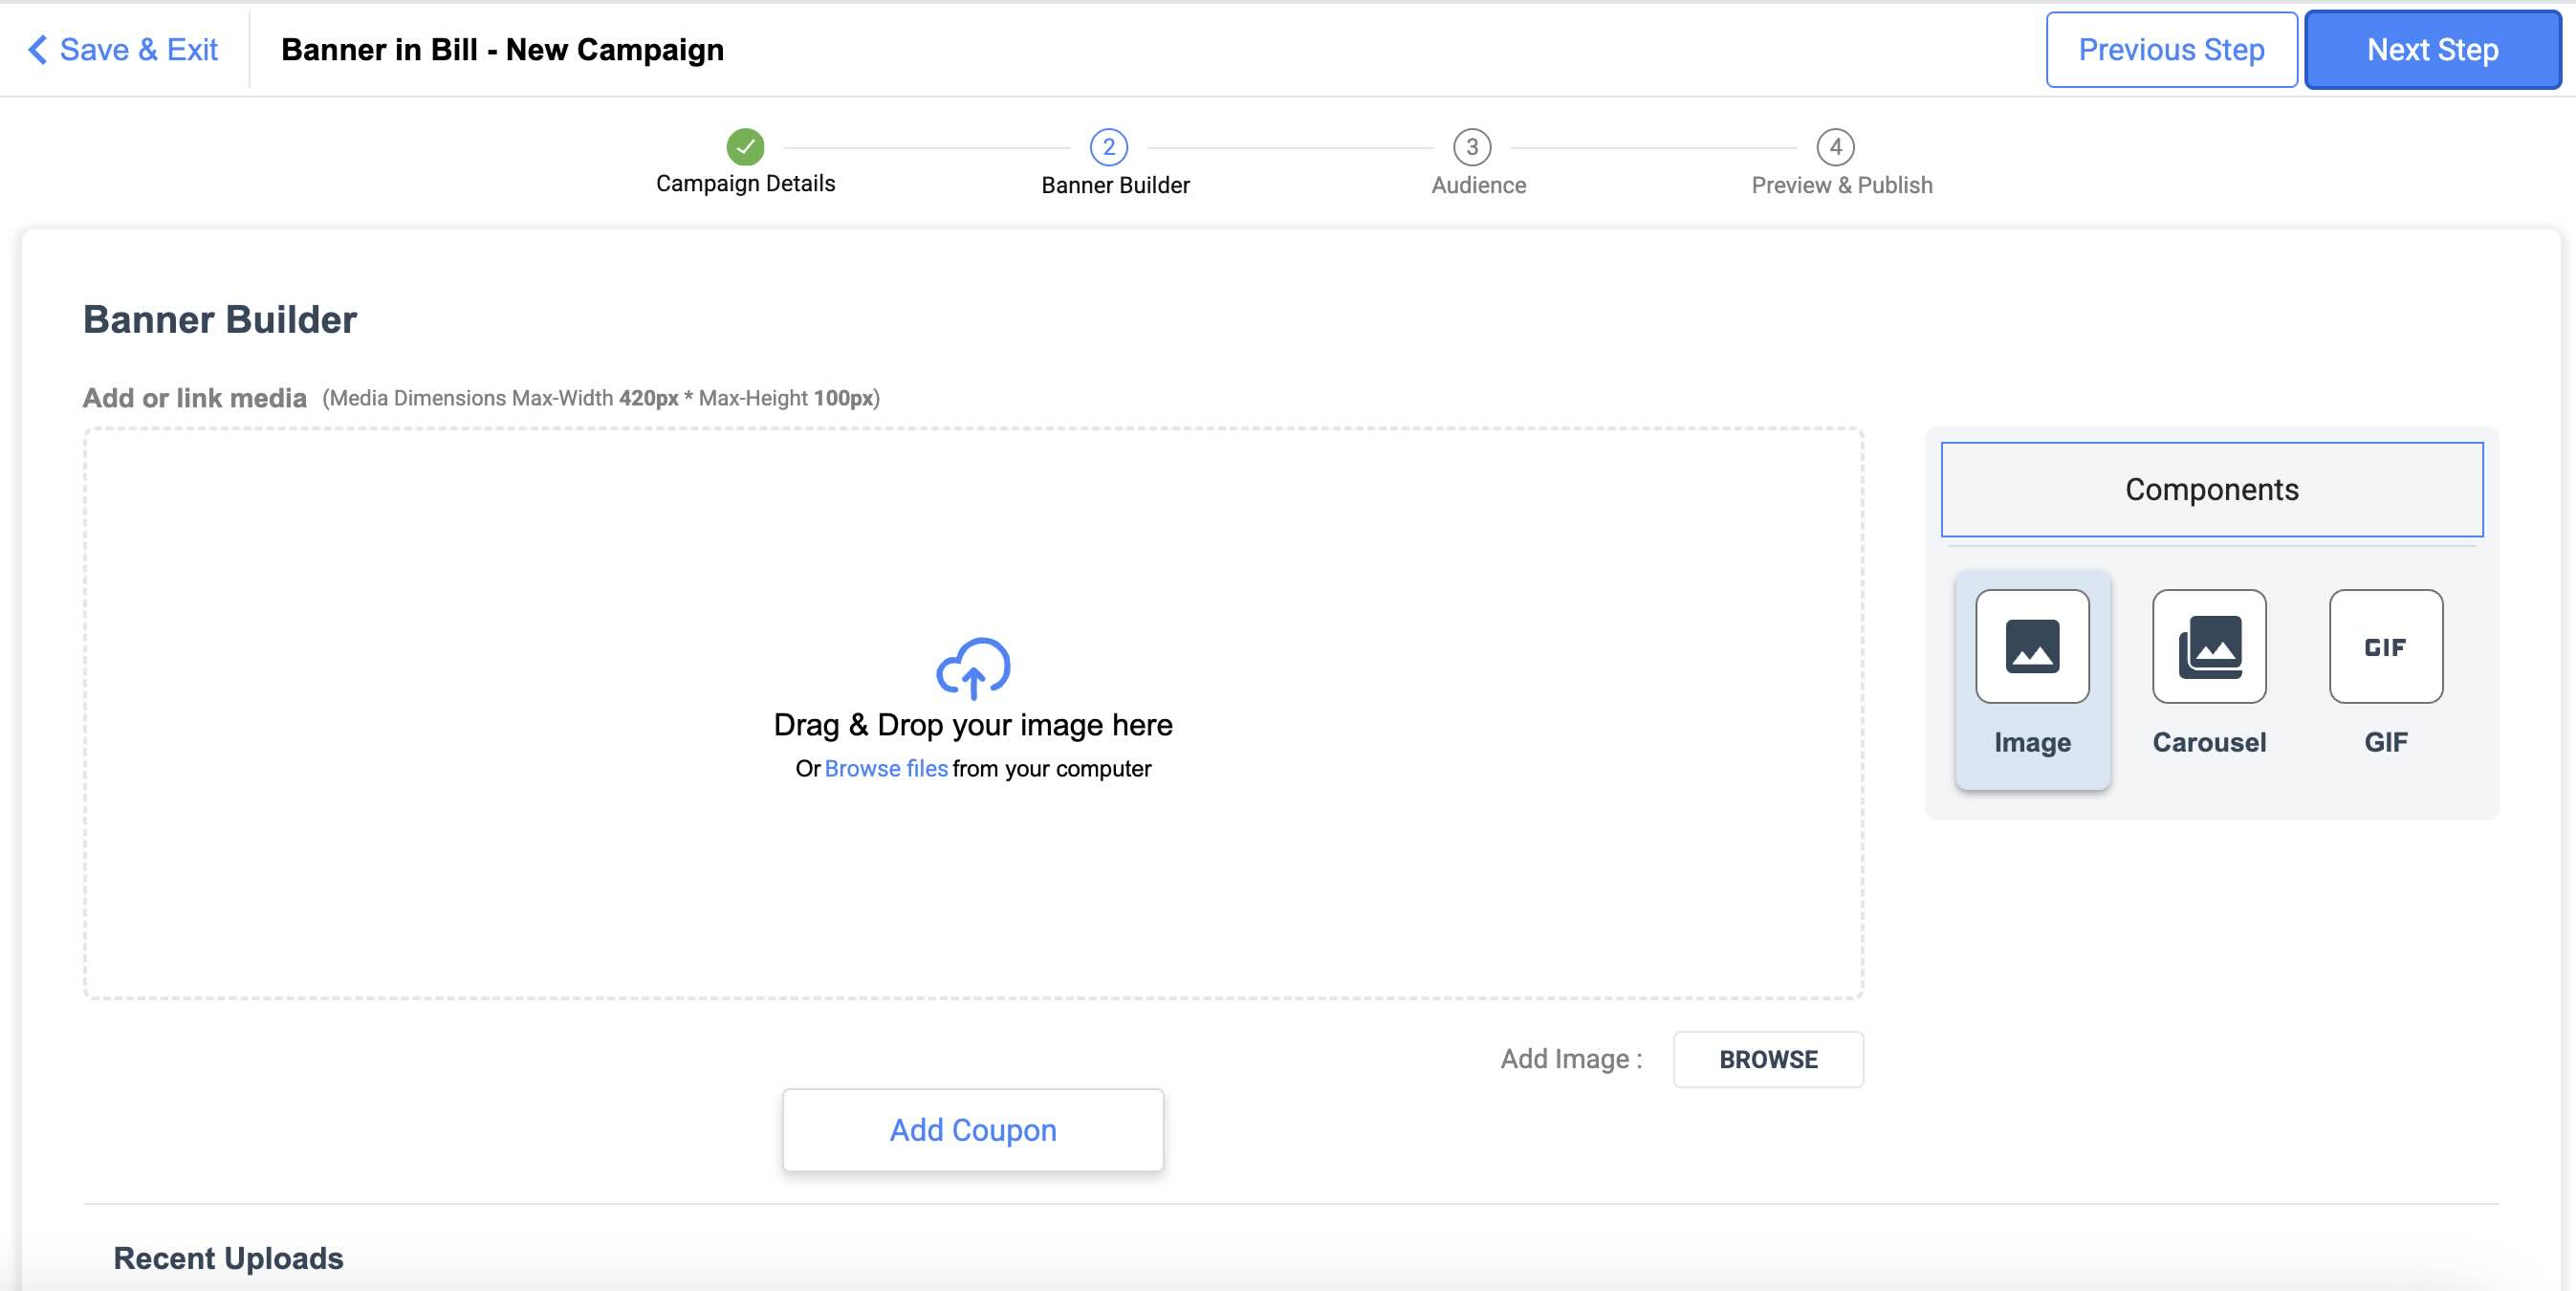
* You can add banner components such as images, Carousels or GIFs.
* You can choose media directly from your recent uploads.
* You can also add any coupons on the banner.
3. Enter the **Campaign Details**, select company and click **Next Step**. The **Banner Builder** page appears.
* You can add banner components such as images, Carousels or GIFs.
* You can choose media directly from your recent uploads.
* You can also add any coupons on the banner.
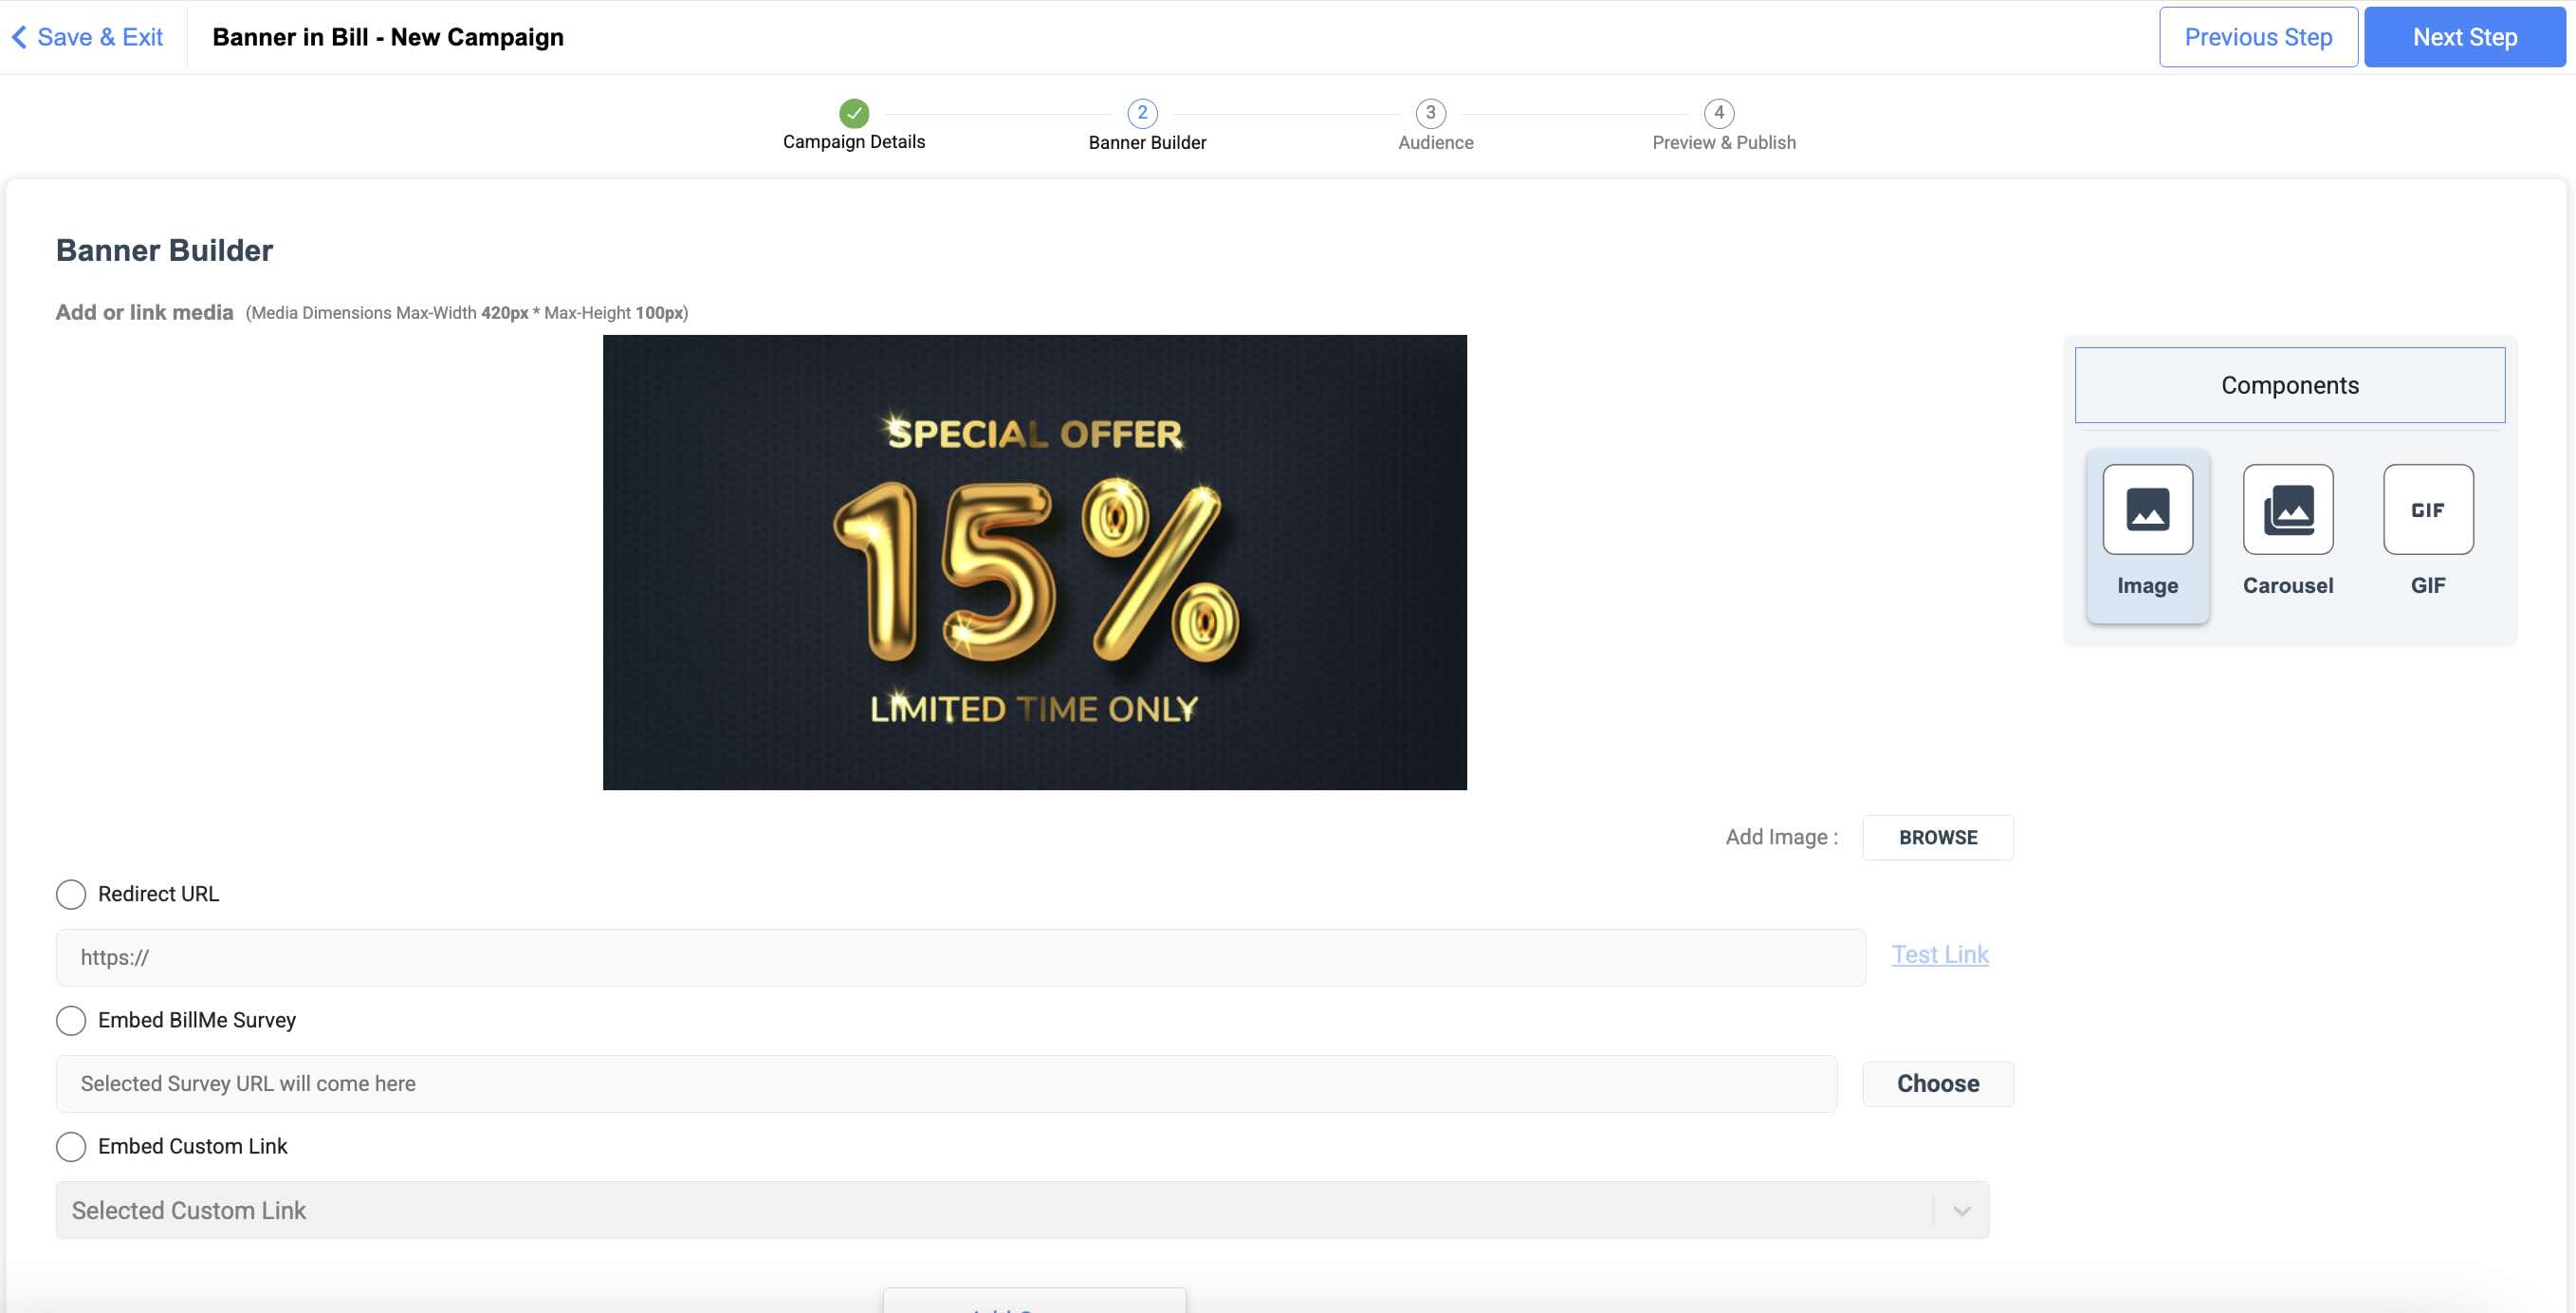
 4. Select an image for more options such as adding redirect url, survey url or custom url. Click **Next Step**.
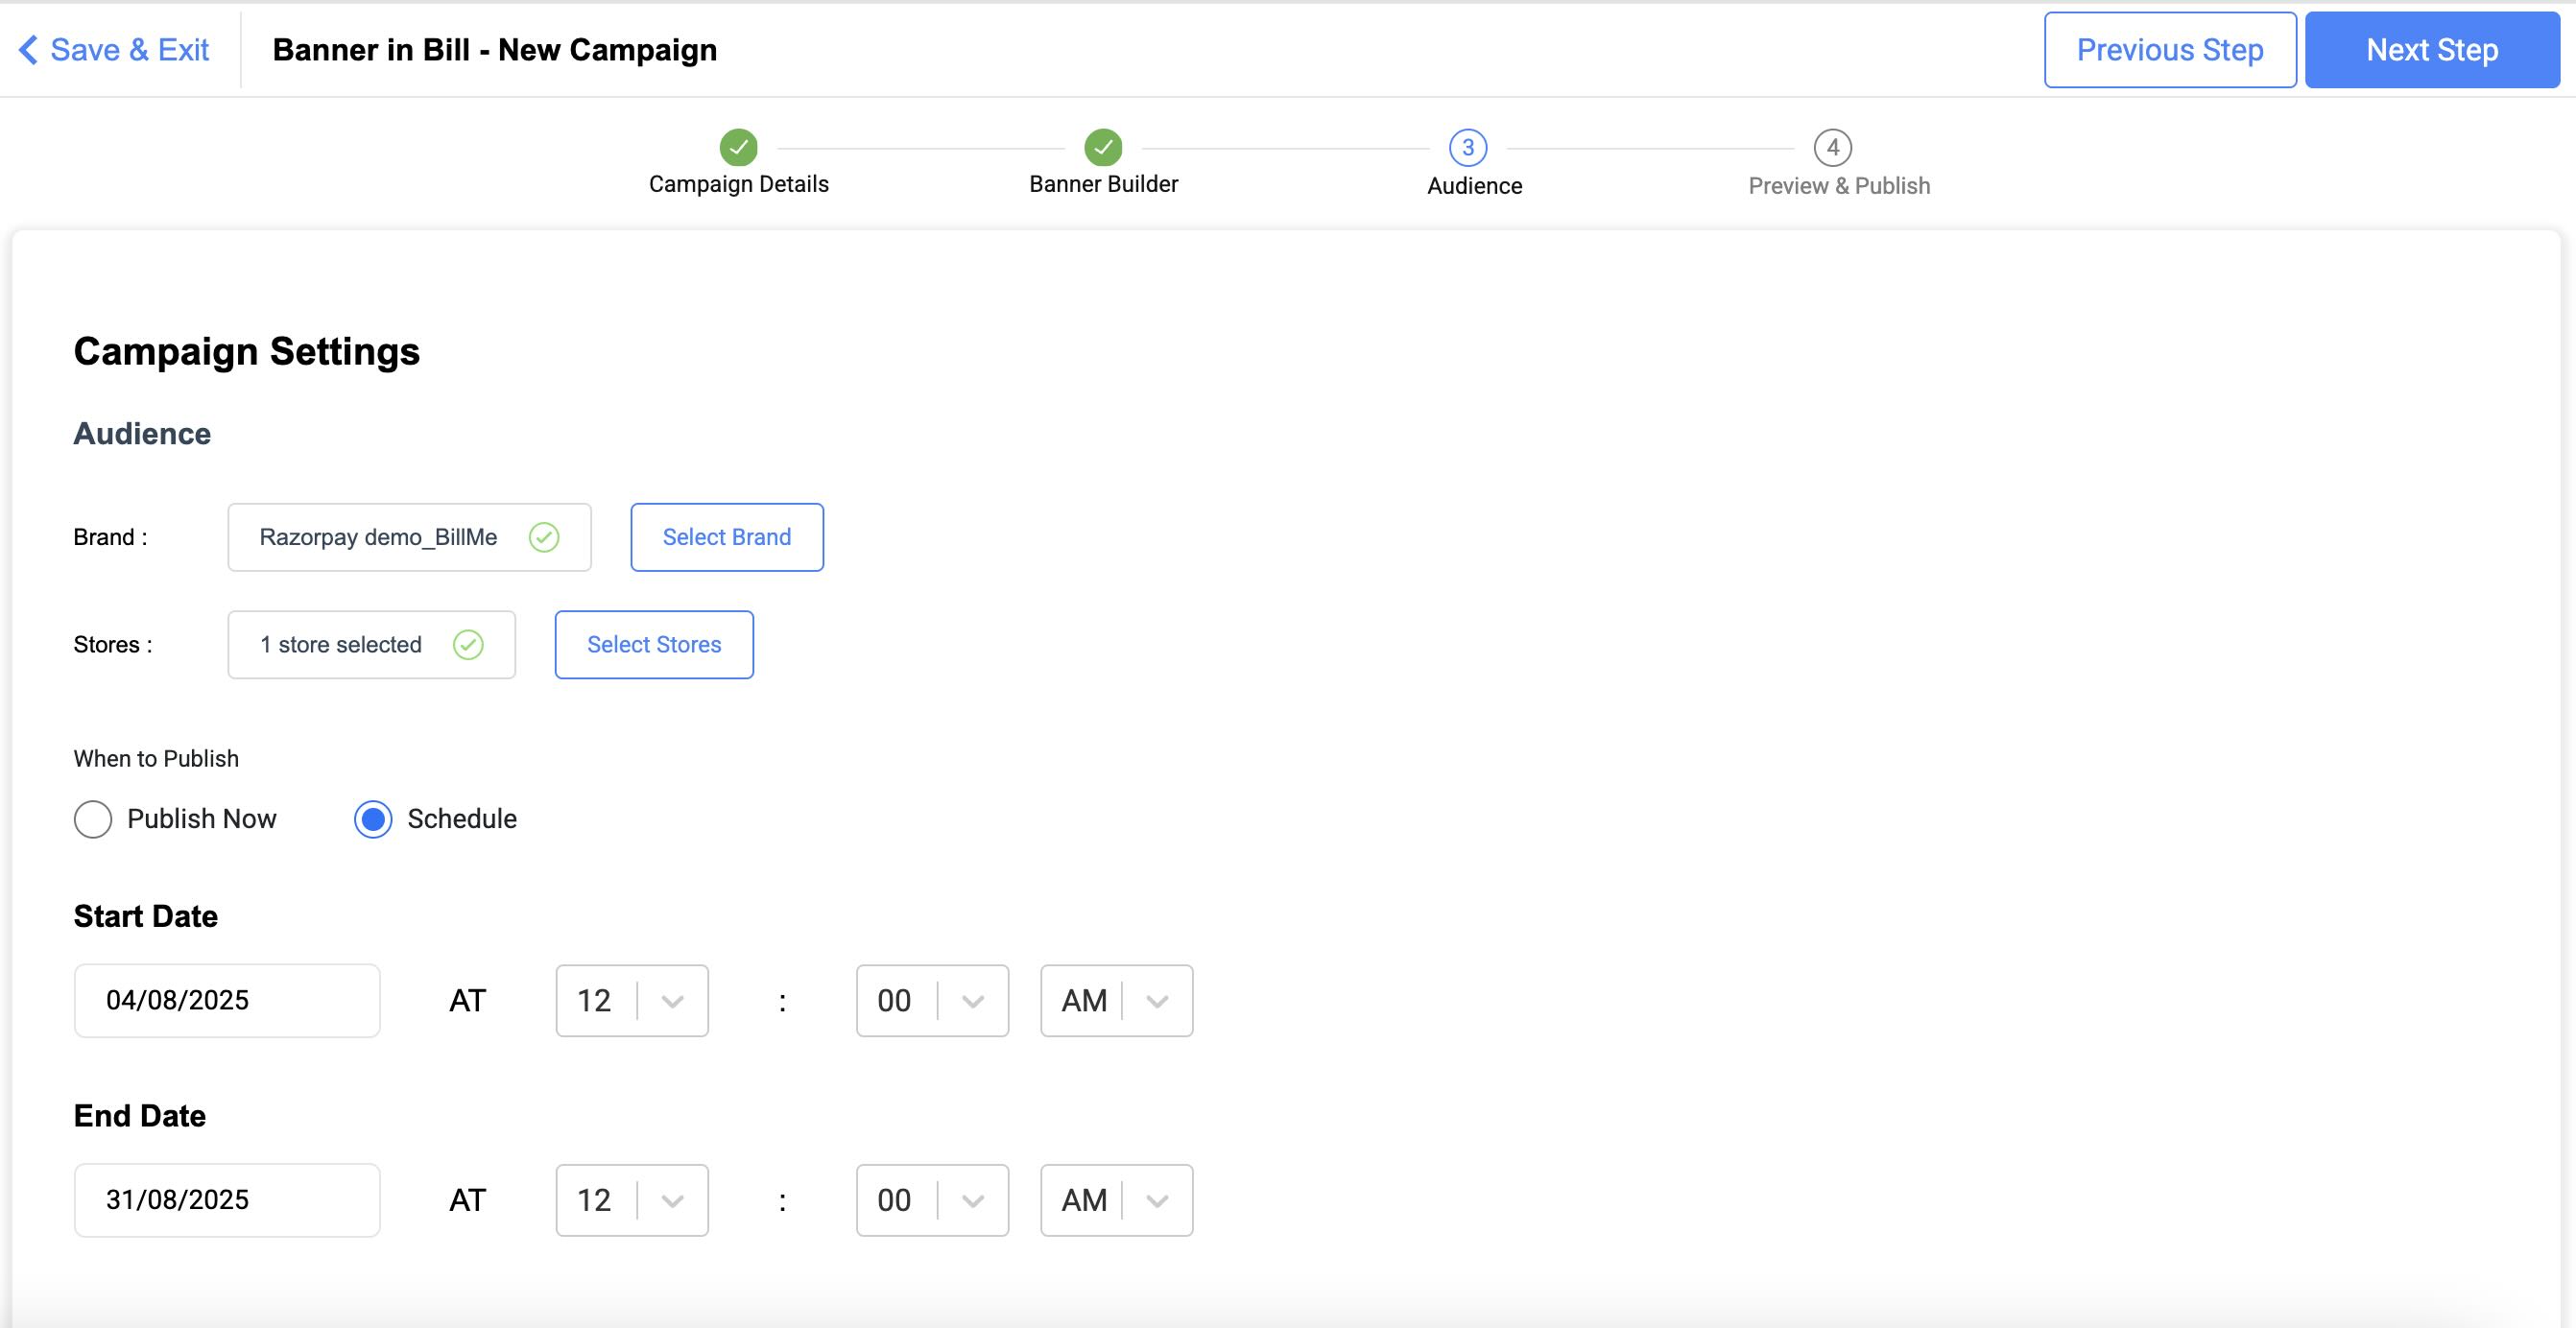
 5. On the **Campaign Settings** page, select your **Brand** and **Stores**. You can also choose to publish the campaign immediately or schedule it. Click **Next Step**.
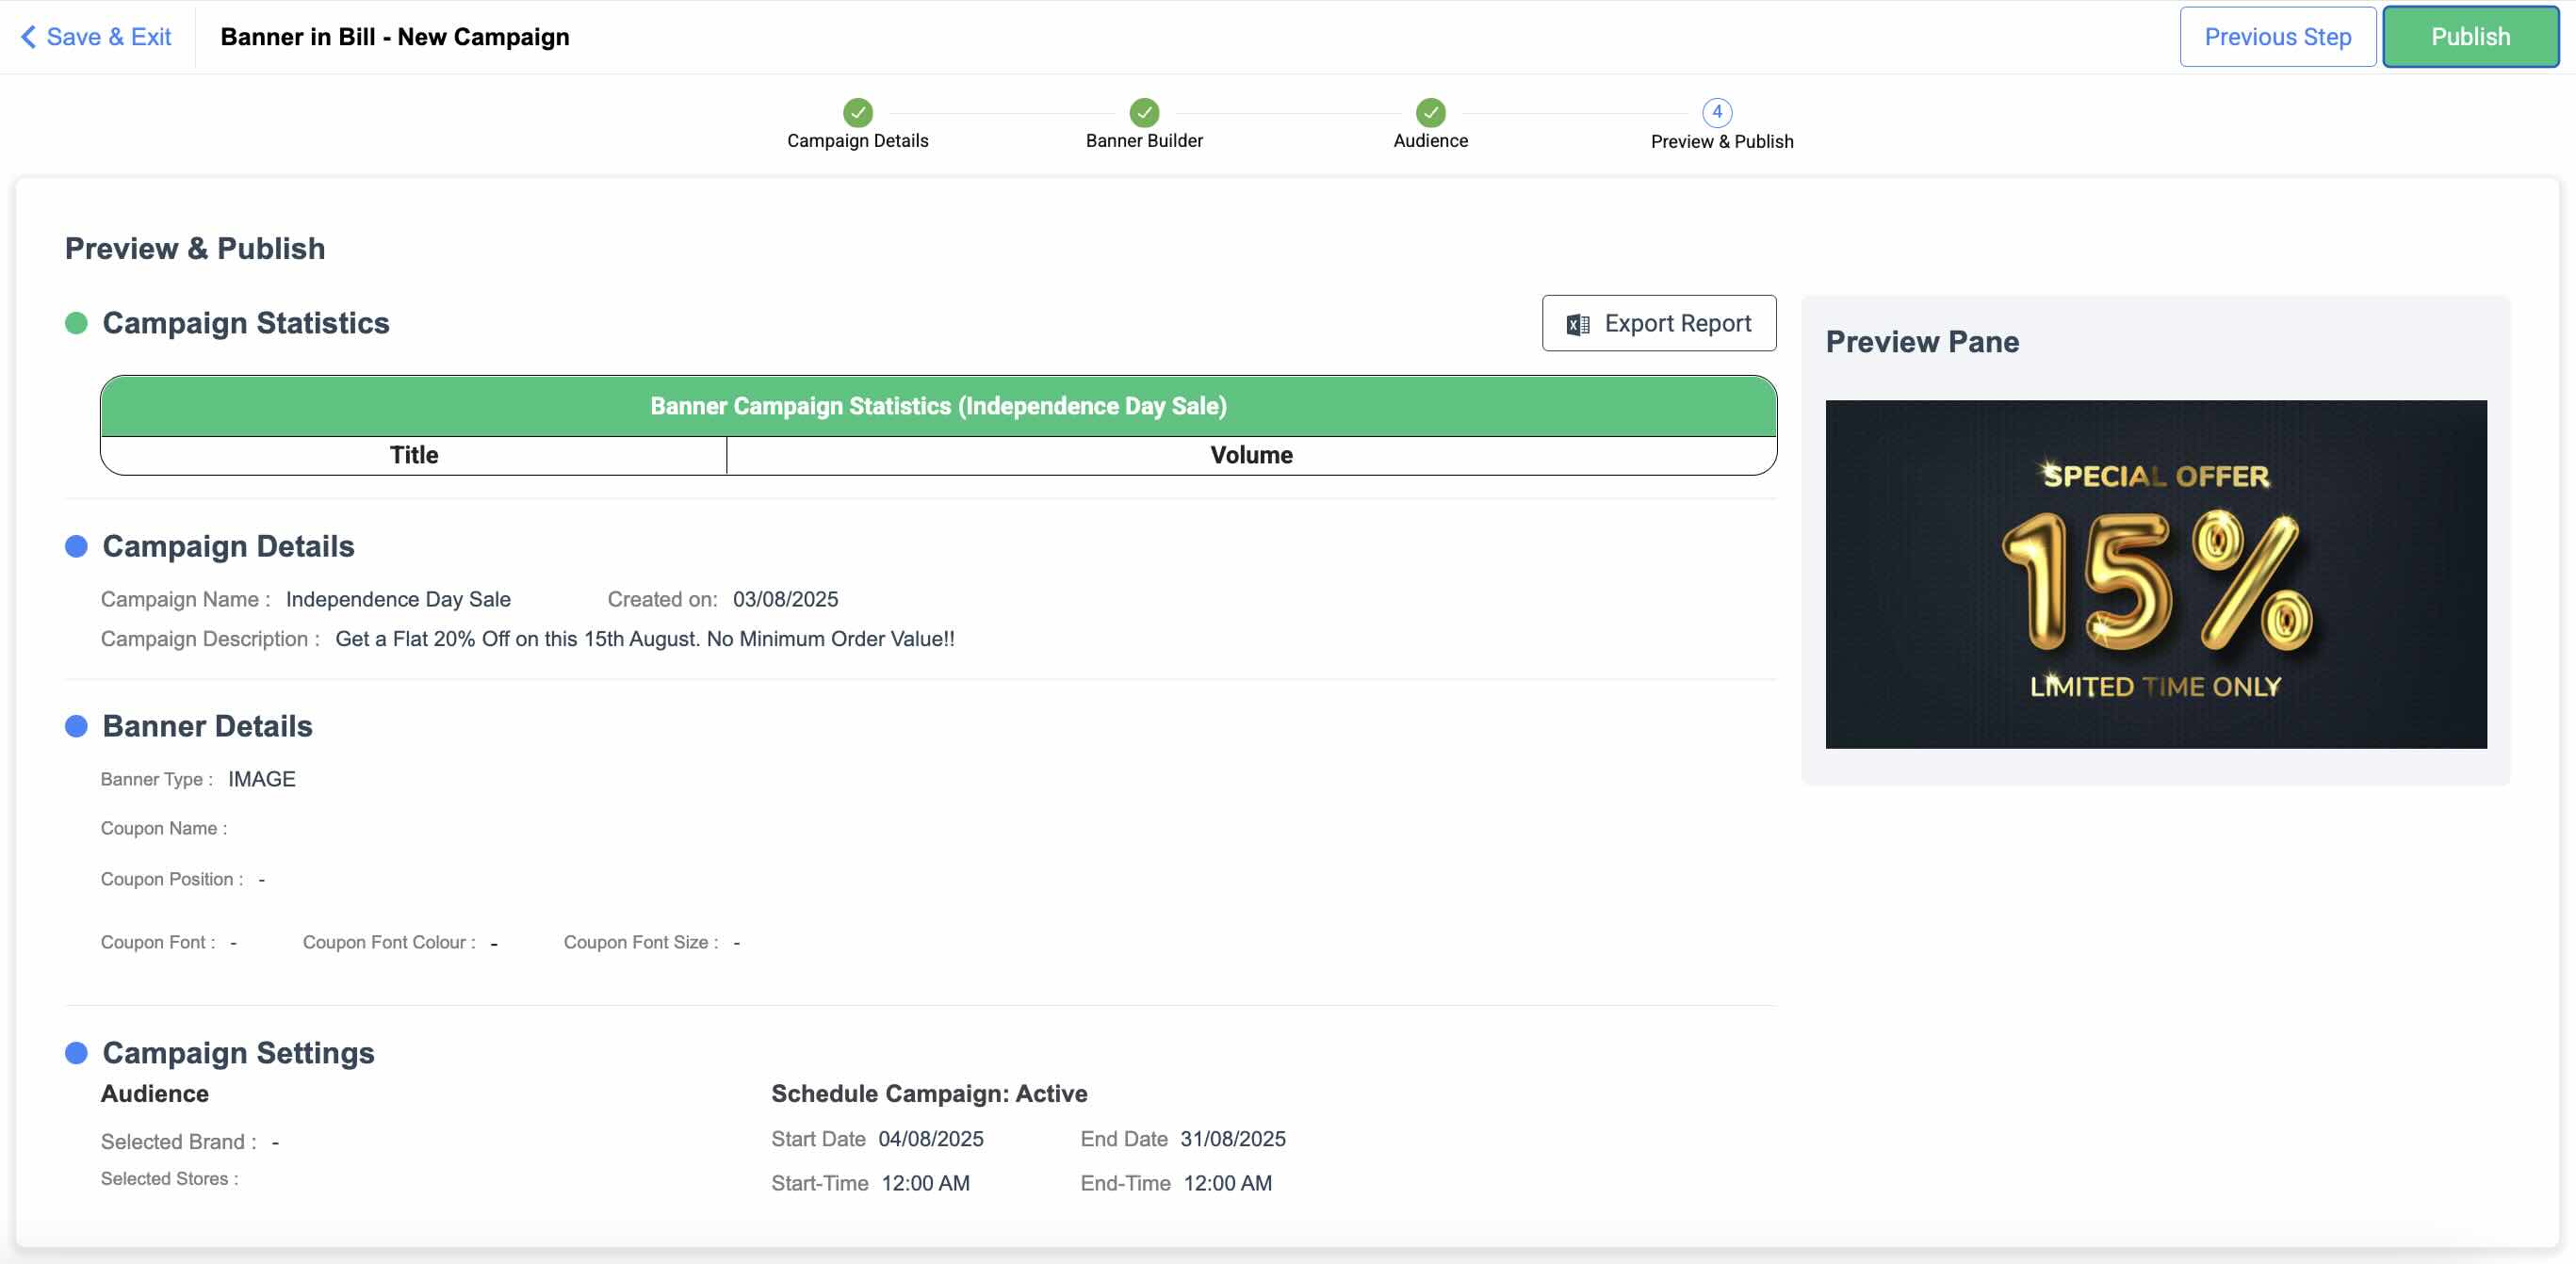
 6. On the **Preview & Publish** page you can check all campaign details. Click **Export Report** and enter your email to opt for exporting campaign reports. Click **Publish**.
 Your **Banner In Bill** Campaign is published and appears in the list of campaigns.